Manage lane connections (Next / Prev / Left / Right)
When two lanes share a boundary point, dragging that point moves both lanes at once. The Attribute Panel exposes four explicit connection slots so you can also wire up Next / Previous / Left / Right by hand.
Drawing connected lanes
Section titled “Drawing connected lanes”The video starts from an empty canvas with the Lane tool open. The first lane is a single curving lane:
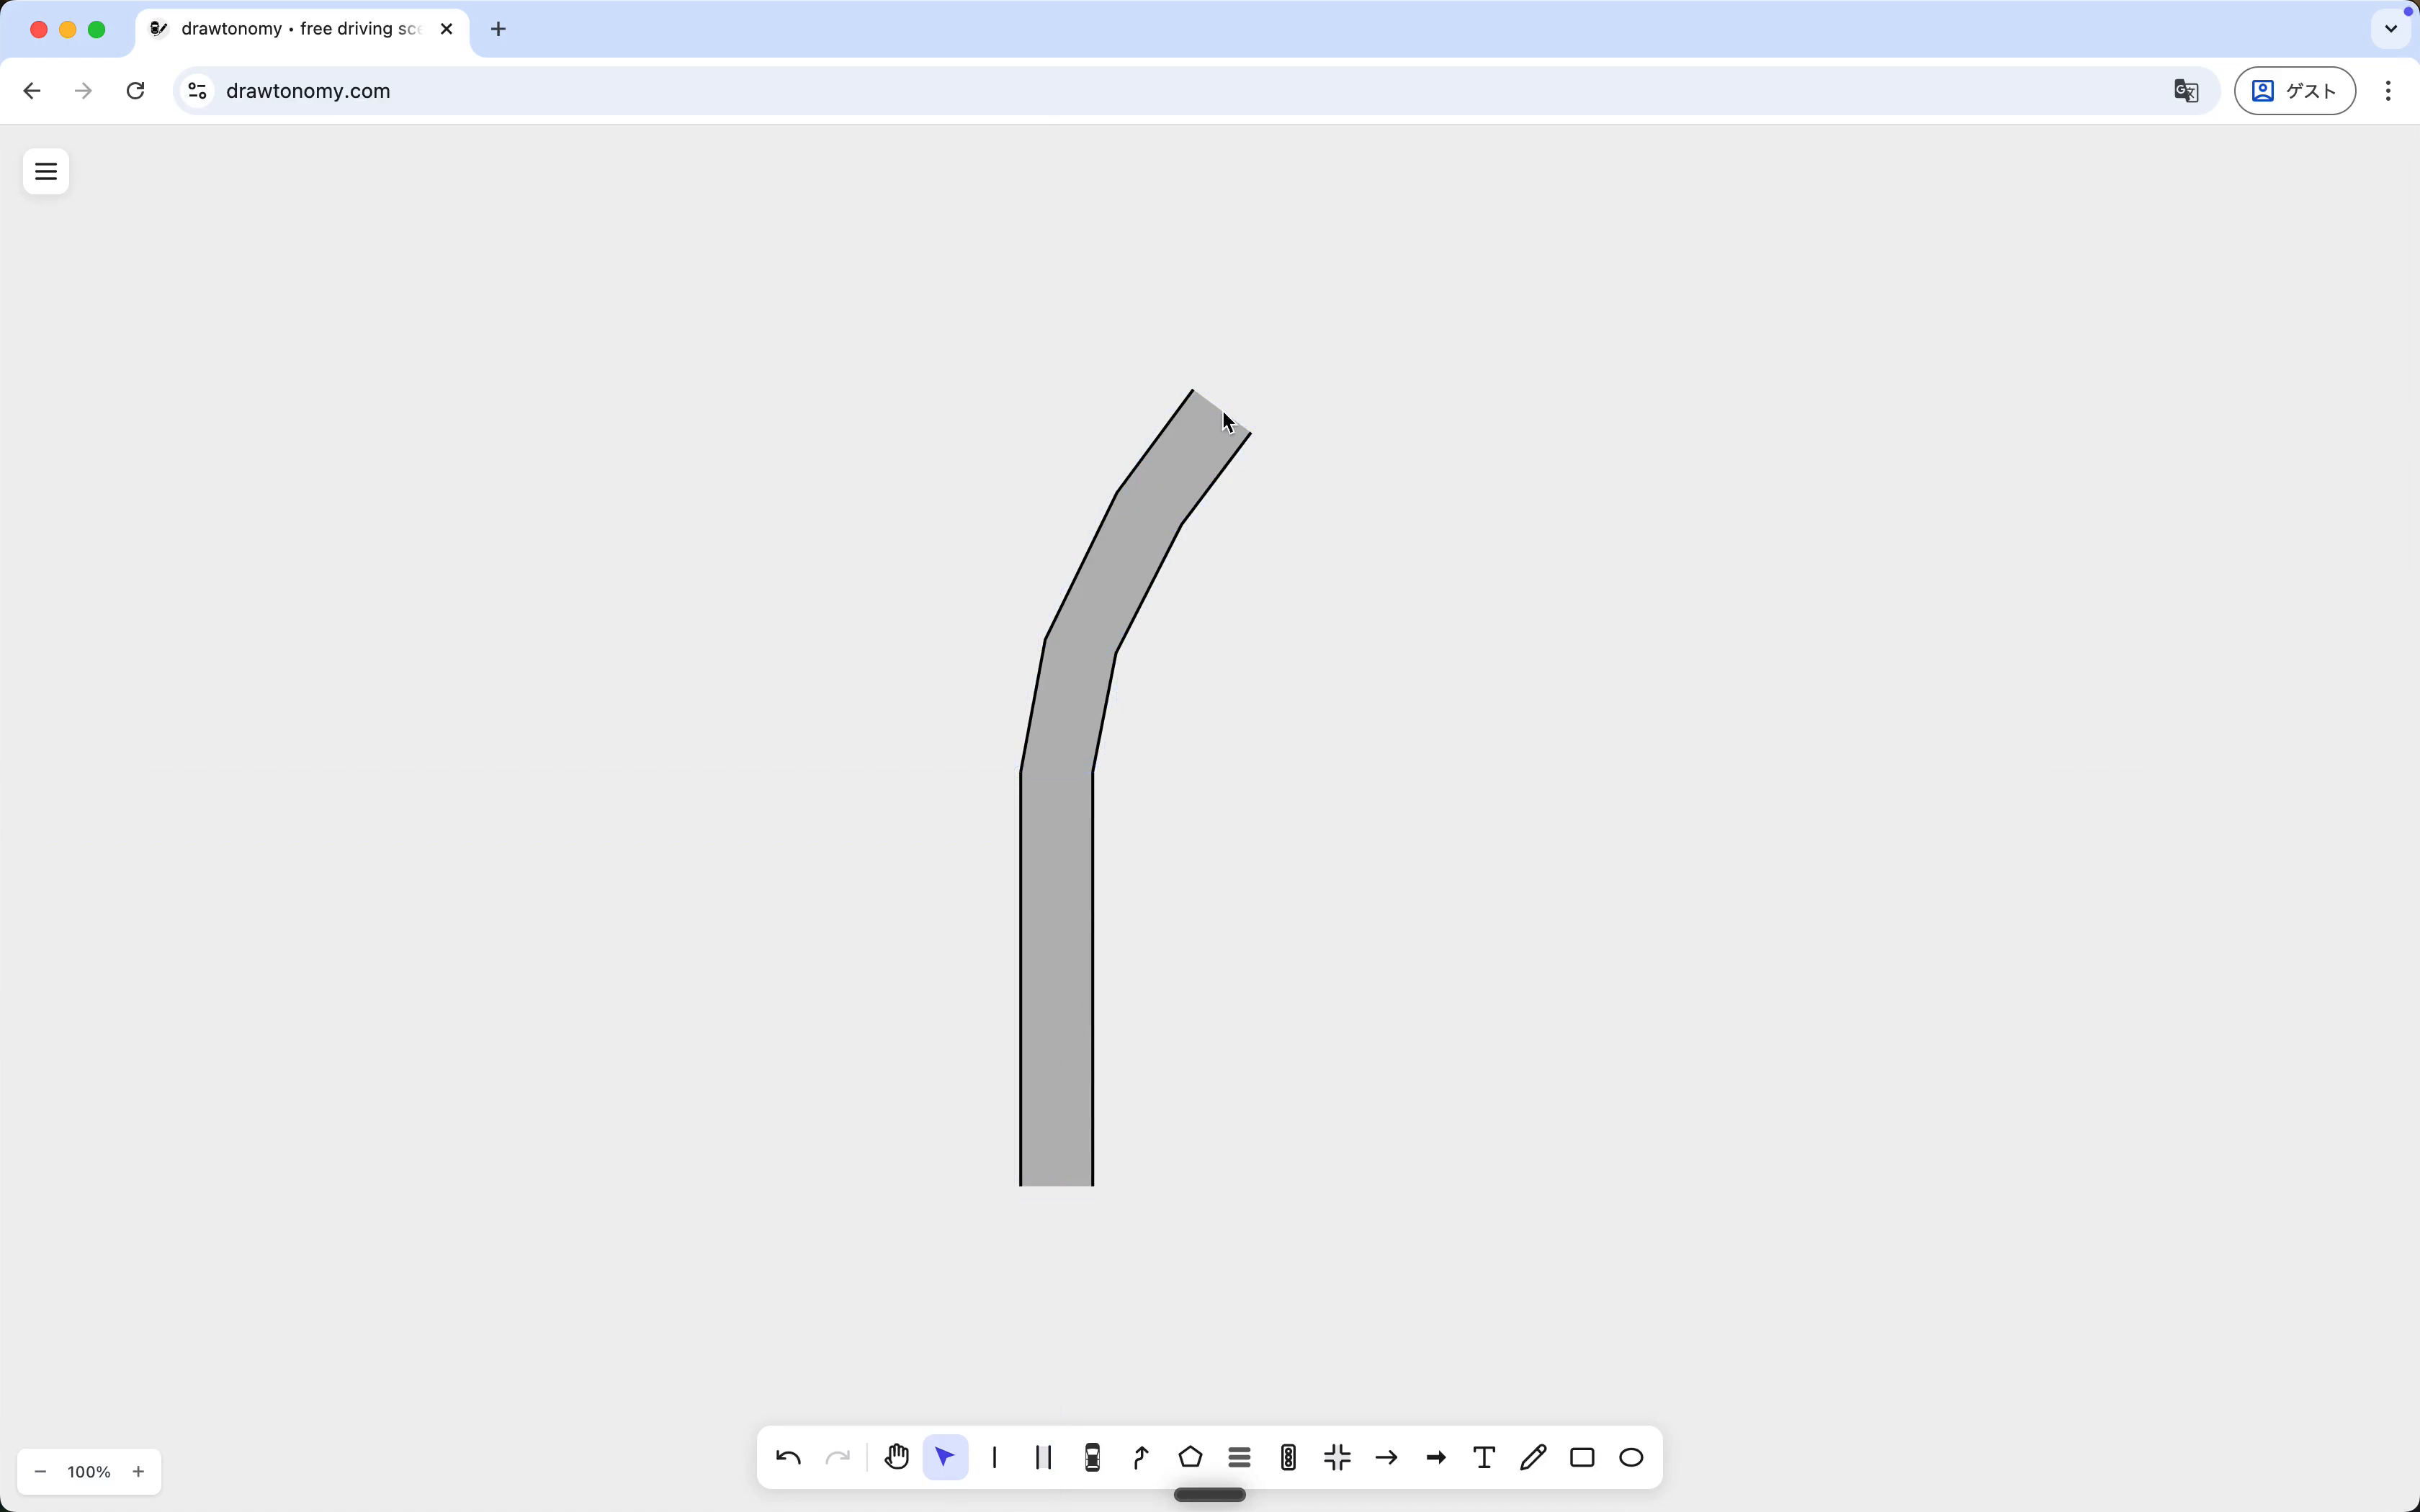
A second lane is then started so its starting boundary lands on the first lane’s existing boundary points. drawtonomy snaps to those points and registers the new lane as a continuation:
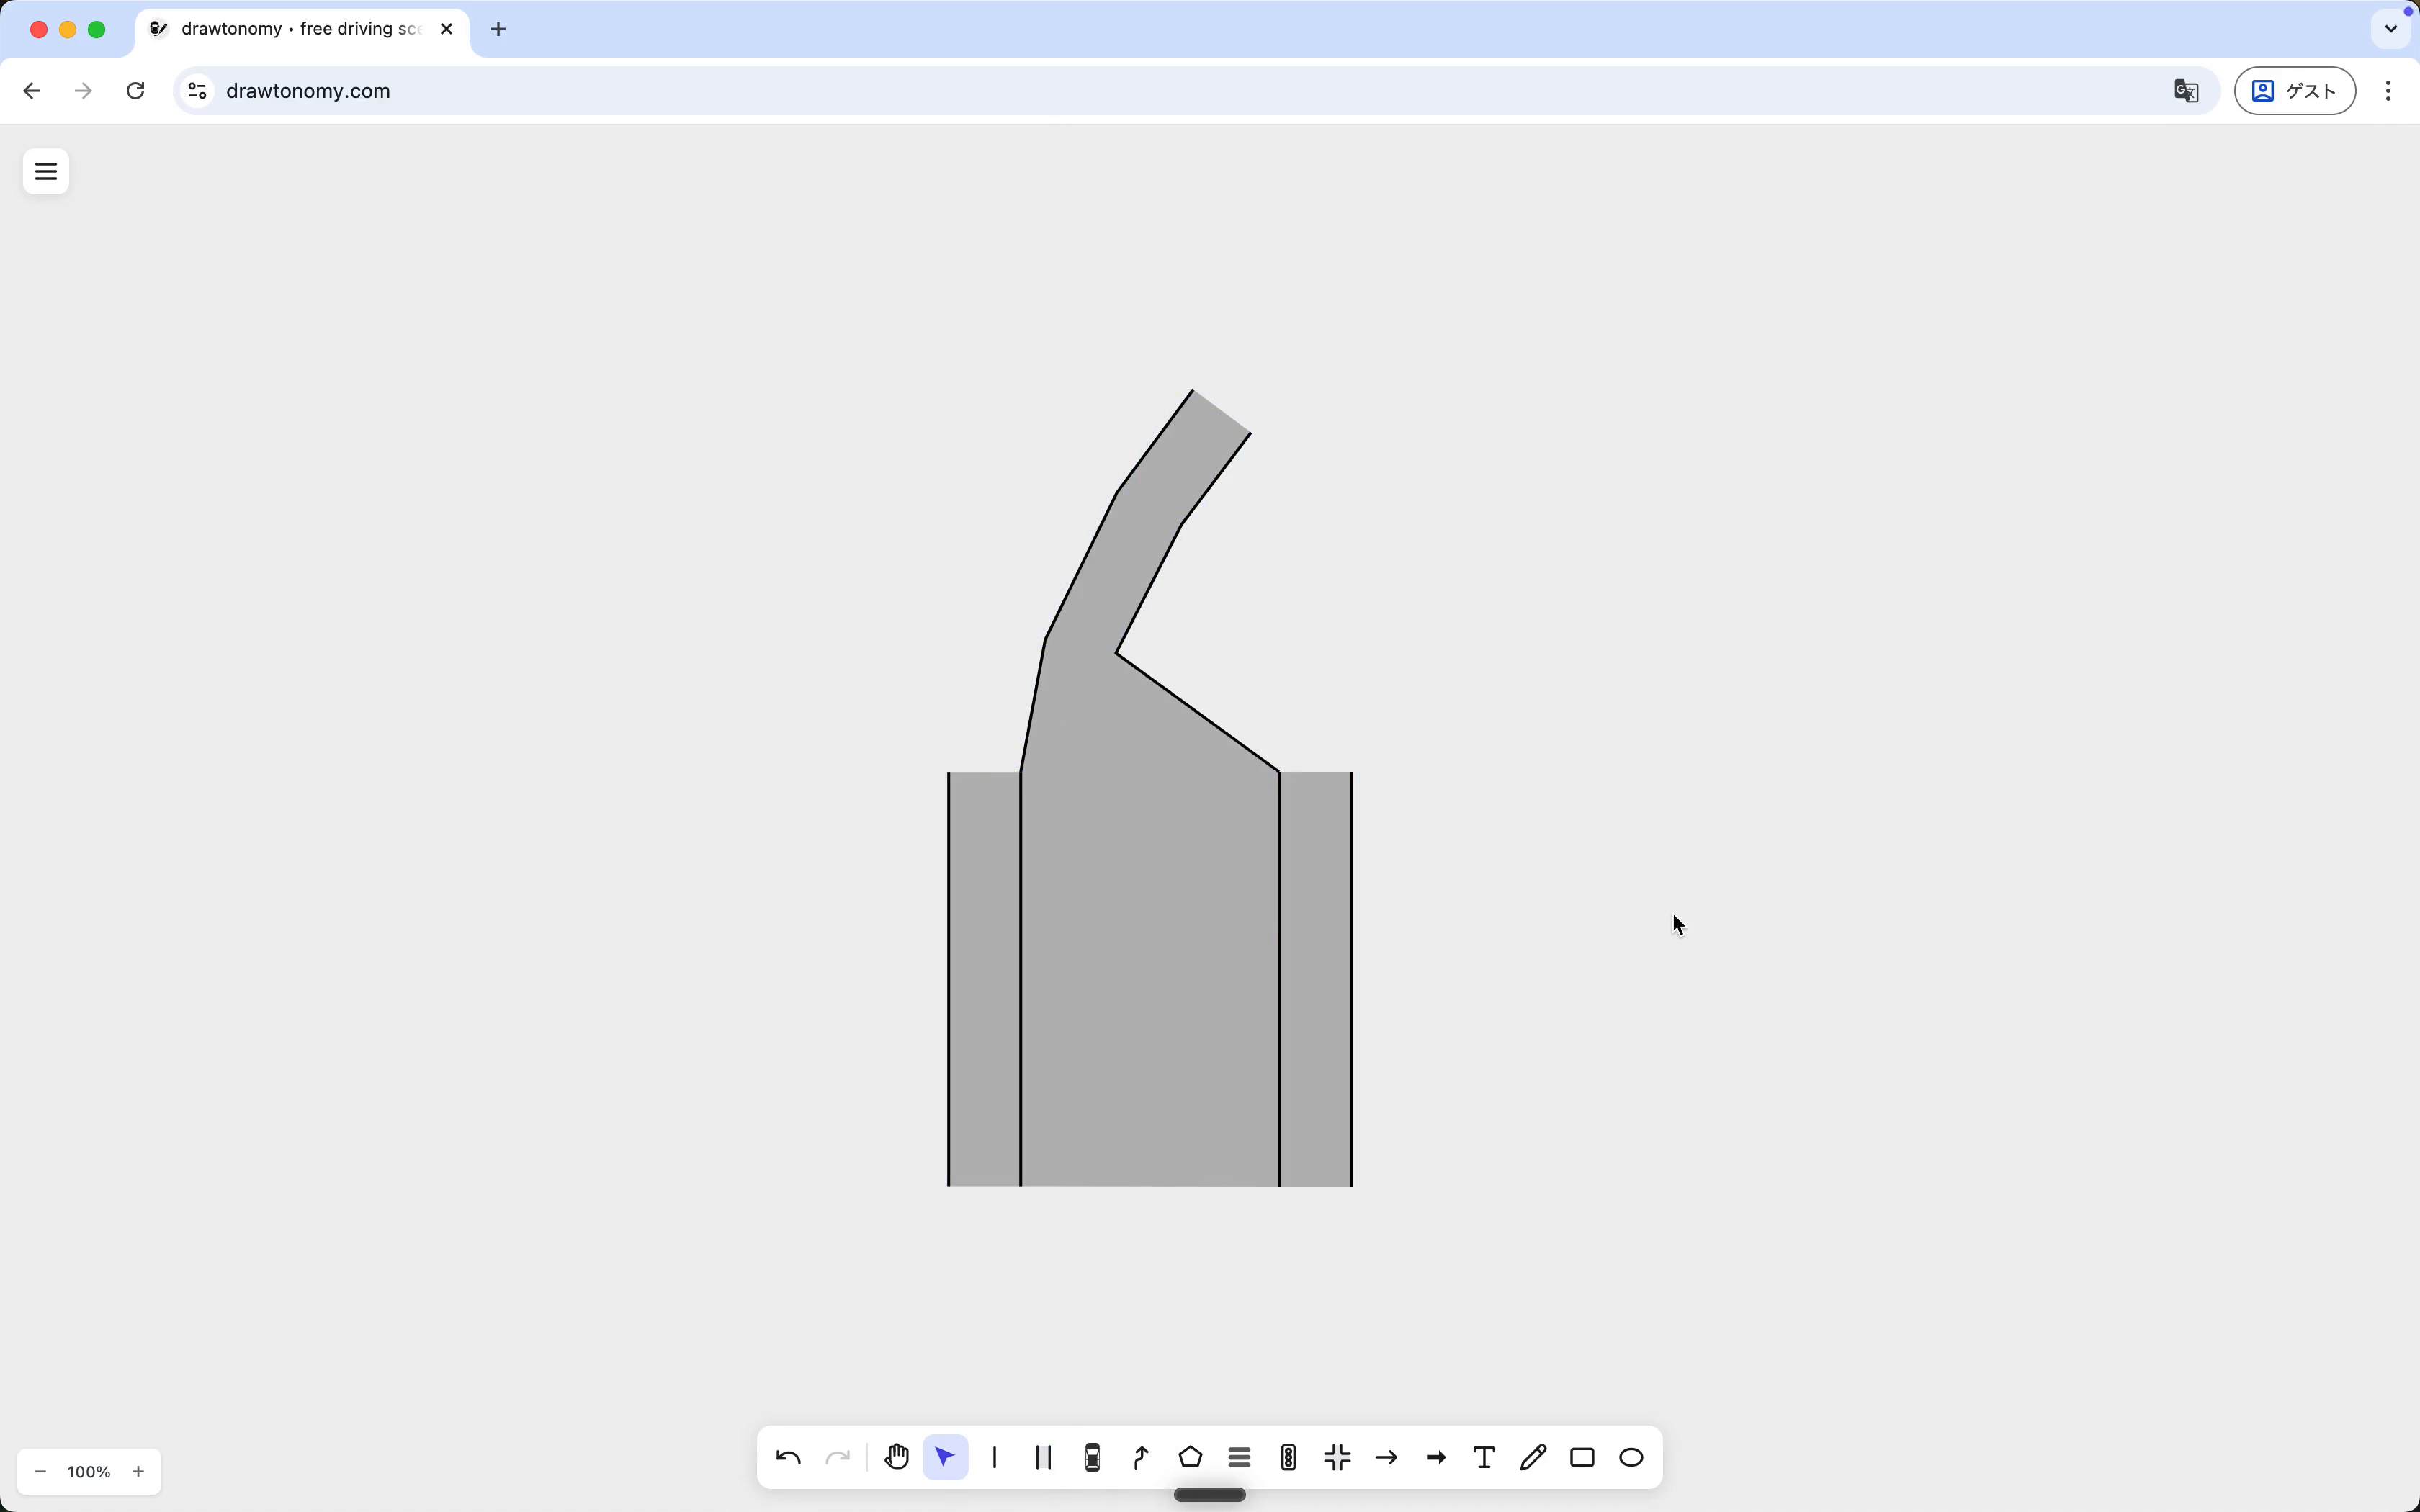
The lanes now share a boundary segment. Drag the shared boundary on either lane and both move together. The diverging upper end is independent on each side.
The four connection slots
Section titled “The four connection slots”Press V for Select, click any lane, and look at the right panel. The slots are:
| Slot | Means |
|---|---|
| Next Lanes | Lanes that traffic from this lane flows into. |
| Prev Lanes | Lanes that flow into this lane. |
| Left Lane | The lane immediately to the left, sharing a boundary. |
| Right Lane | The lane immediately to the right, sharing a boundary. |
Each slot has two buttons:
- Create — make a brand-new neighbouring lane and point the slot at it.
- Set — pick an existing lane on the canvas to fill the slot.
Connections are bidirectional. Setting Lane A’s Next Lanes to B also adds B to A’s Prev Lanes; drawtonomy maintains the reverse link automatically.
When connections happen automatically
Section titled “When connections happen automatically”- Drawing a new lane that starts on an existing lane’s boundary point — the case in the demo above. The shared boundary is enough; you don’t need to click Set.
- Placing an intersection template — every approach lane is wired up.
For everything else, click Set and pick the neighbour.
See also
Section titled “See also”- Lane connection model — why this abstraction exists and what exporters do with it.
- Use the Lane tool