Path with footprints
A footprint is a copy of a vehicle (or other template) placed automatically along a Path. The demo starts with one ego vehicle, draws a Path from it, and the path immediately fills with copies of that vehicle — same template, oriented along the curve, equally spaced.
Place a vehicle anywhere on the canvas with the Vehicle tool, then press H for the Path tool. The right panel shows Path settings:
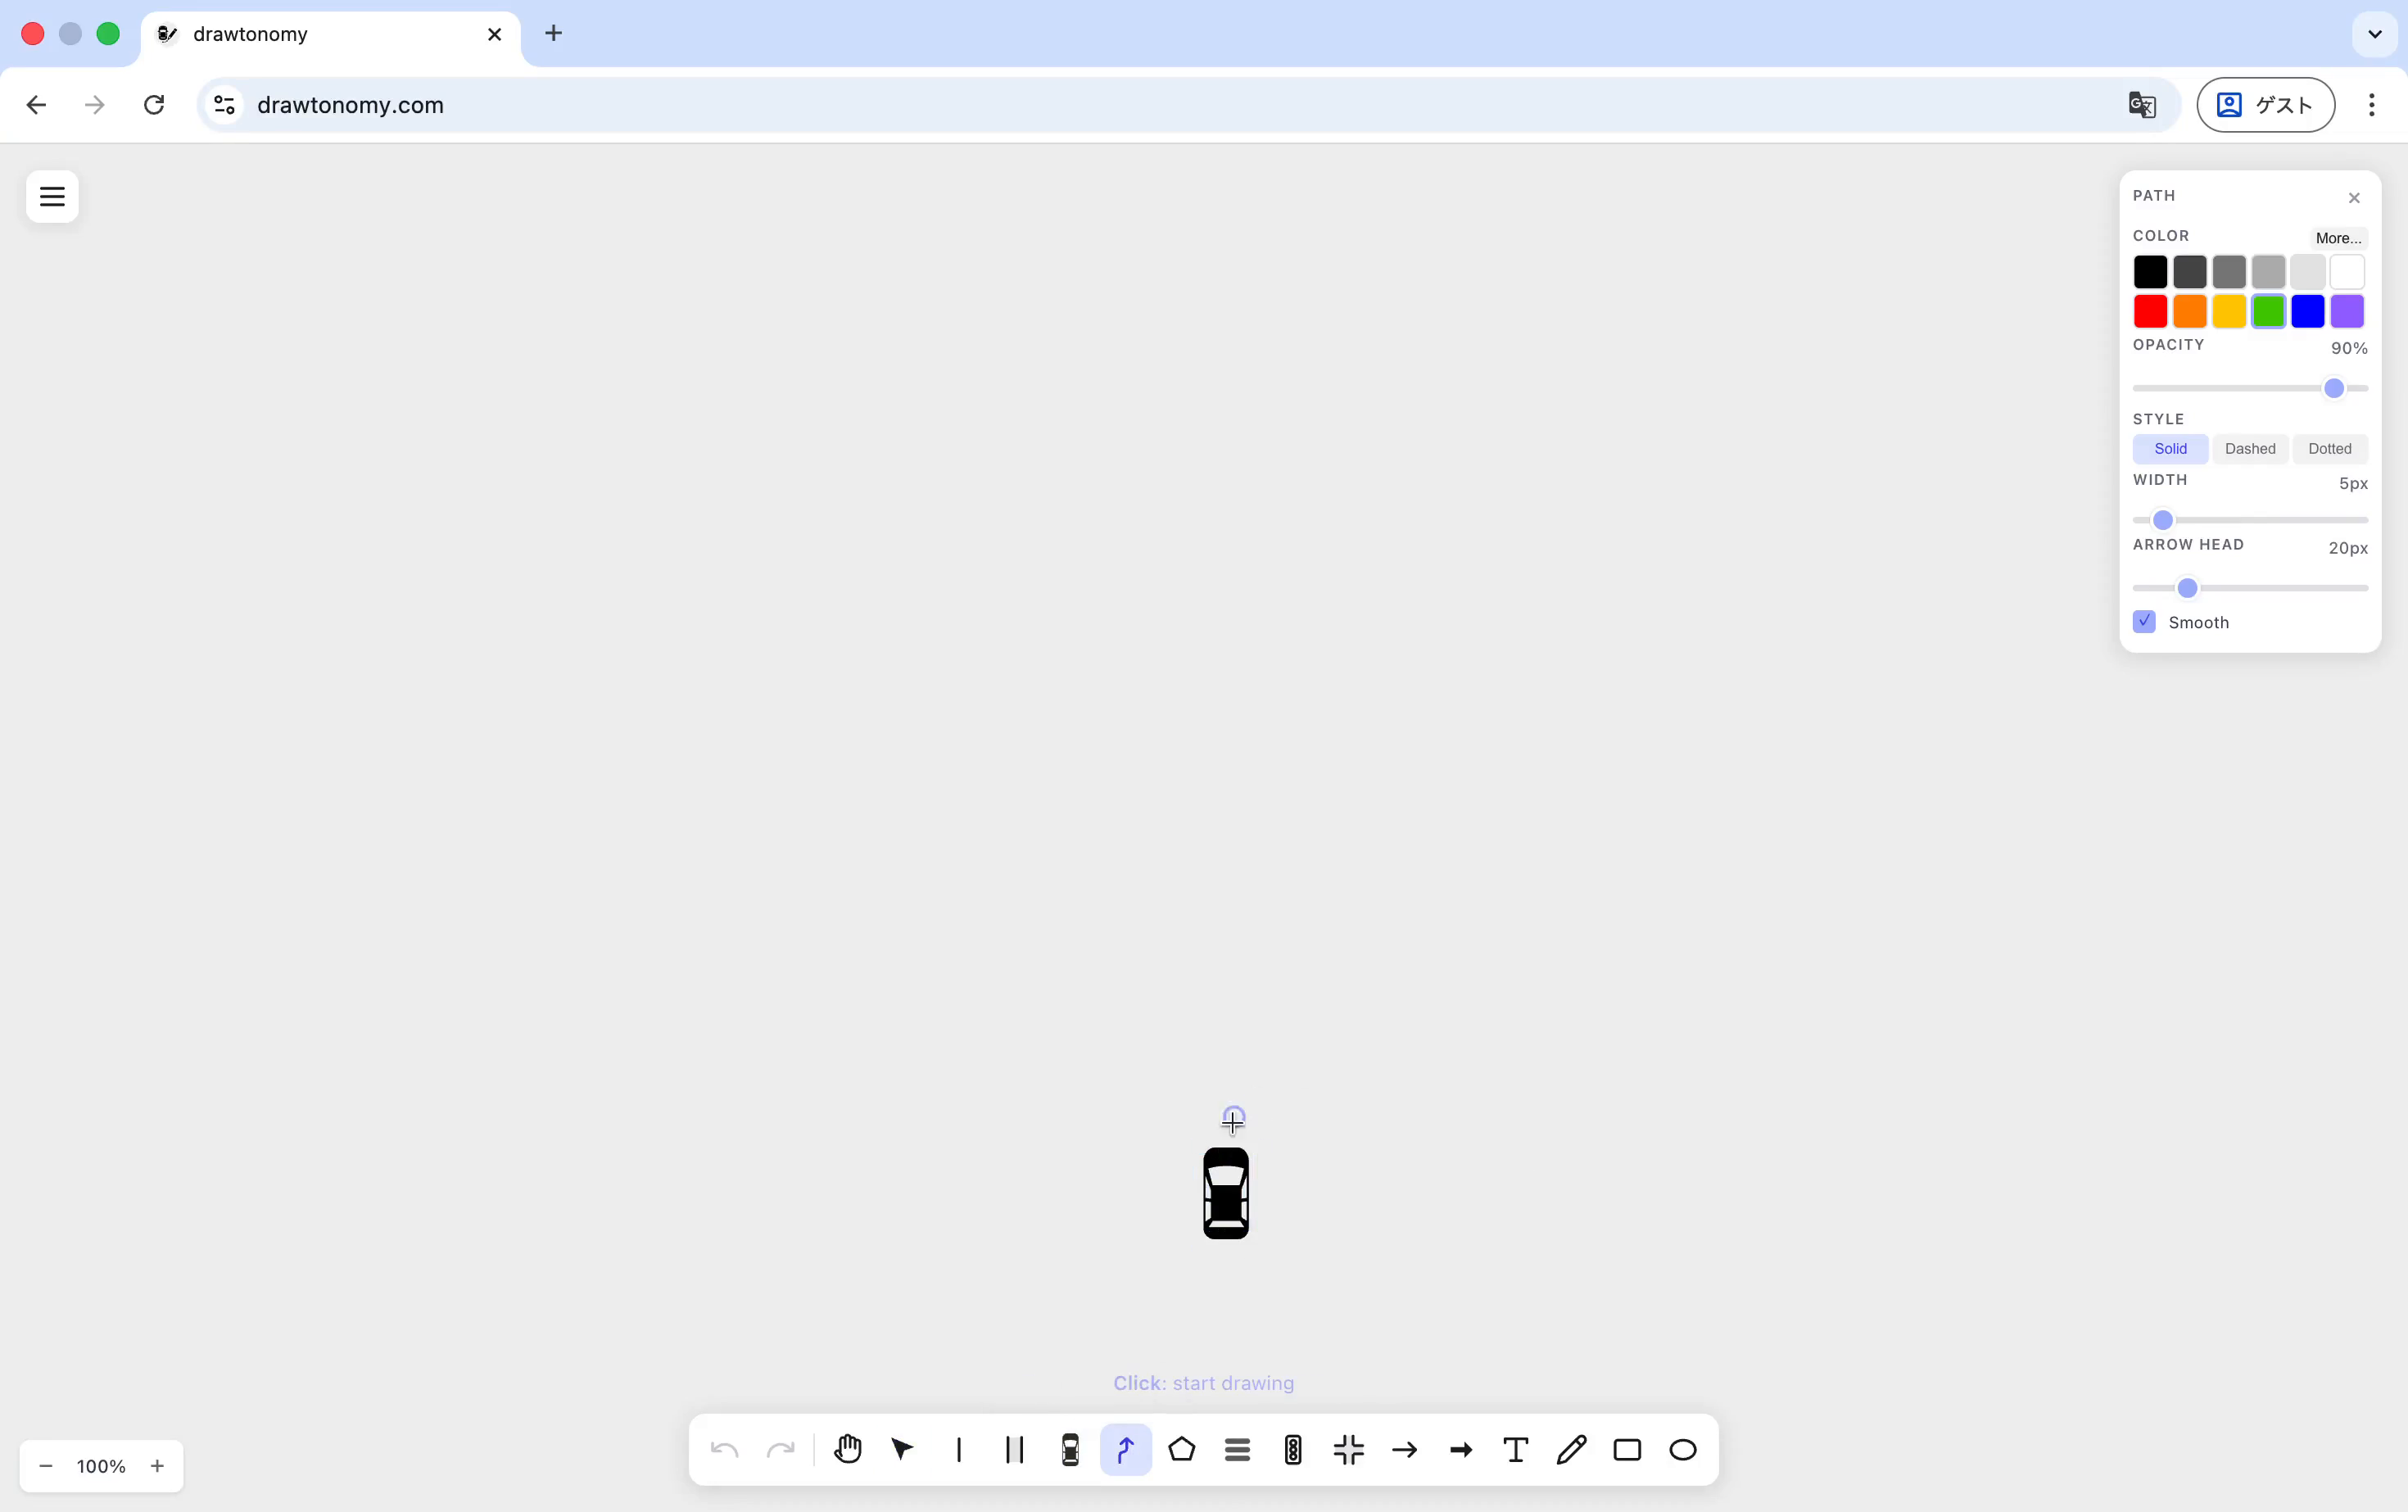
The defaults shown — solid green, 5 px wide, smooth, with a 20 px arrow head — are what the demo uses.
Drawing the path
Section titled “Drawing the path”Click on the vehicle to start the path. The first point latches onto the vehicle’s anchor. Click further points to extend the path; the arrow head appears at the last point you drop. Press Enter to finish.
As soon as the path is finished, drawtonomy tiles a copy of the source vehicle along it:
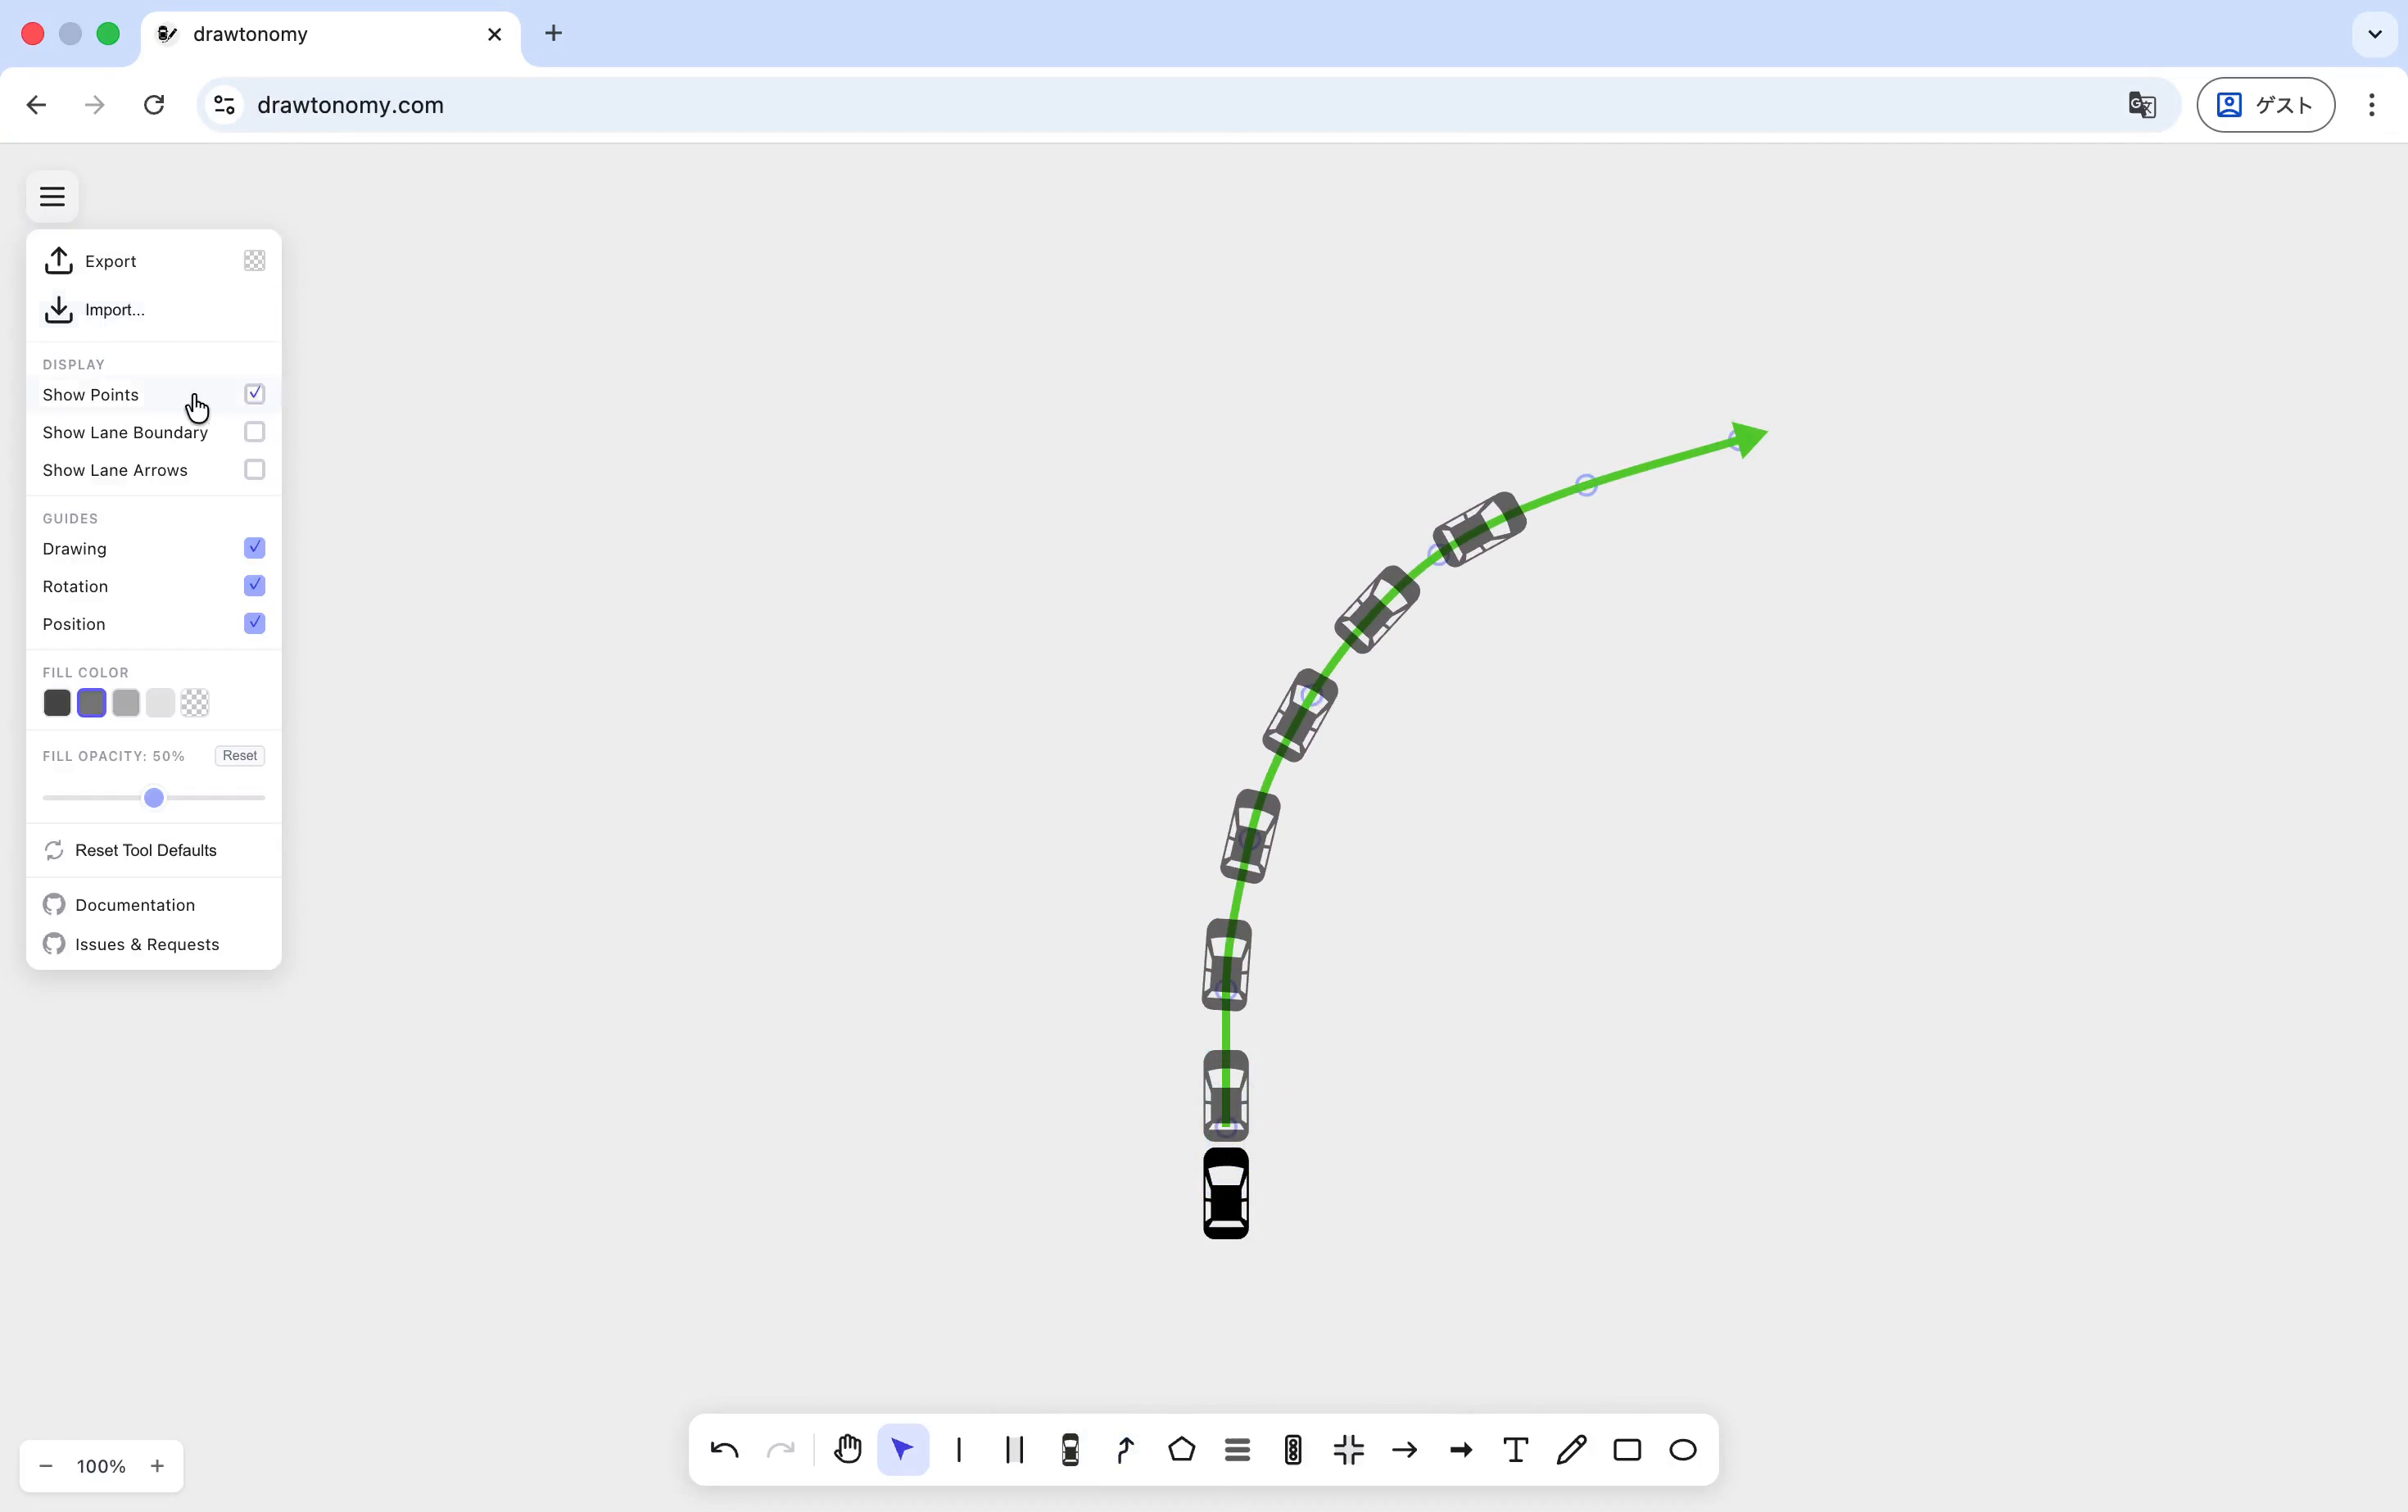
Each copy is rotated to match the path tangent at its position, so the trail follows curves naturally.
Style and template stay linked
Section titled “Style and template stay linked”Footprints share style with their source vehicle: change the source’s color, opacity, or template, and every footprint follows. You don’t have to hand-edit each copy to keep a manoeuvre diagram visually consistent.
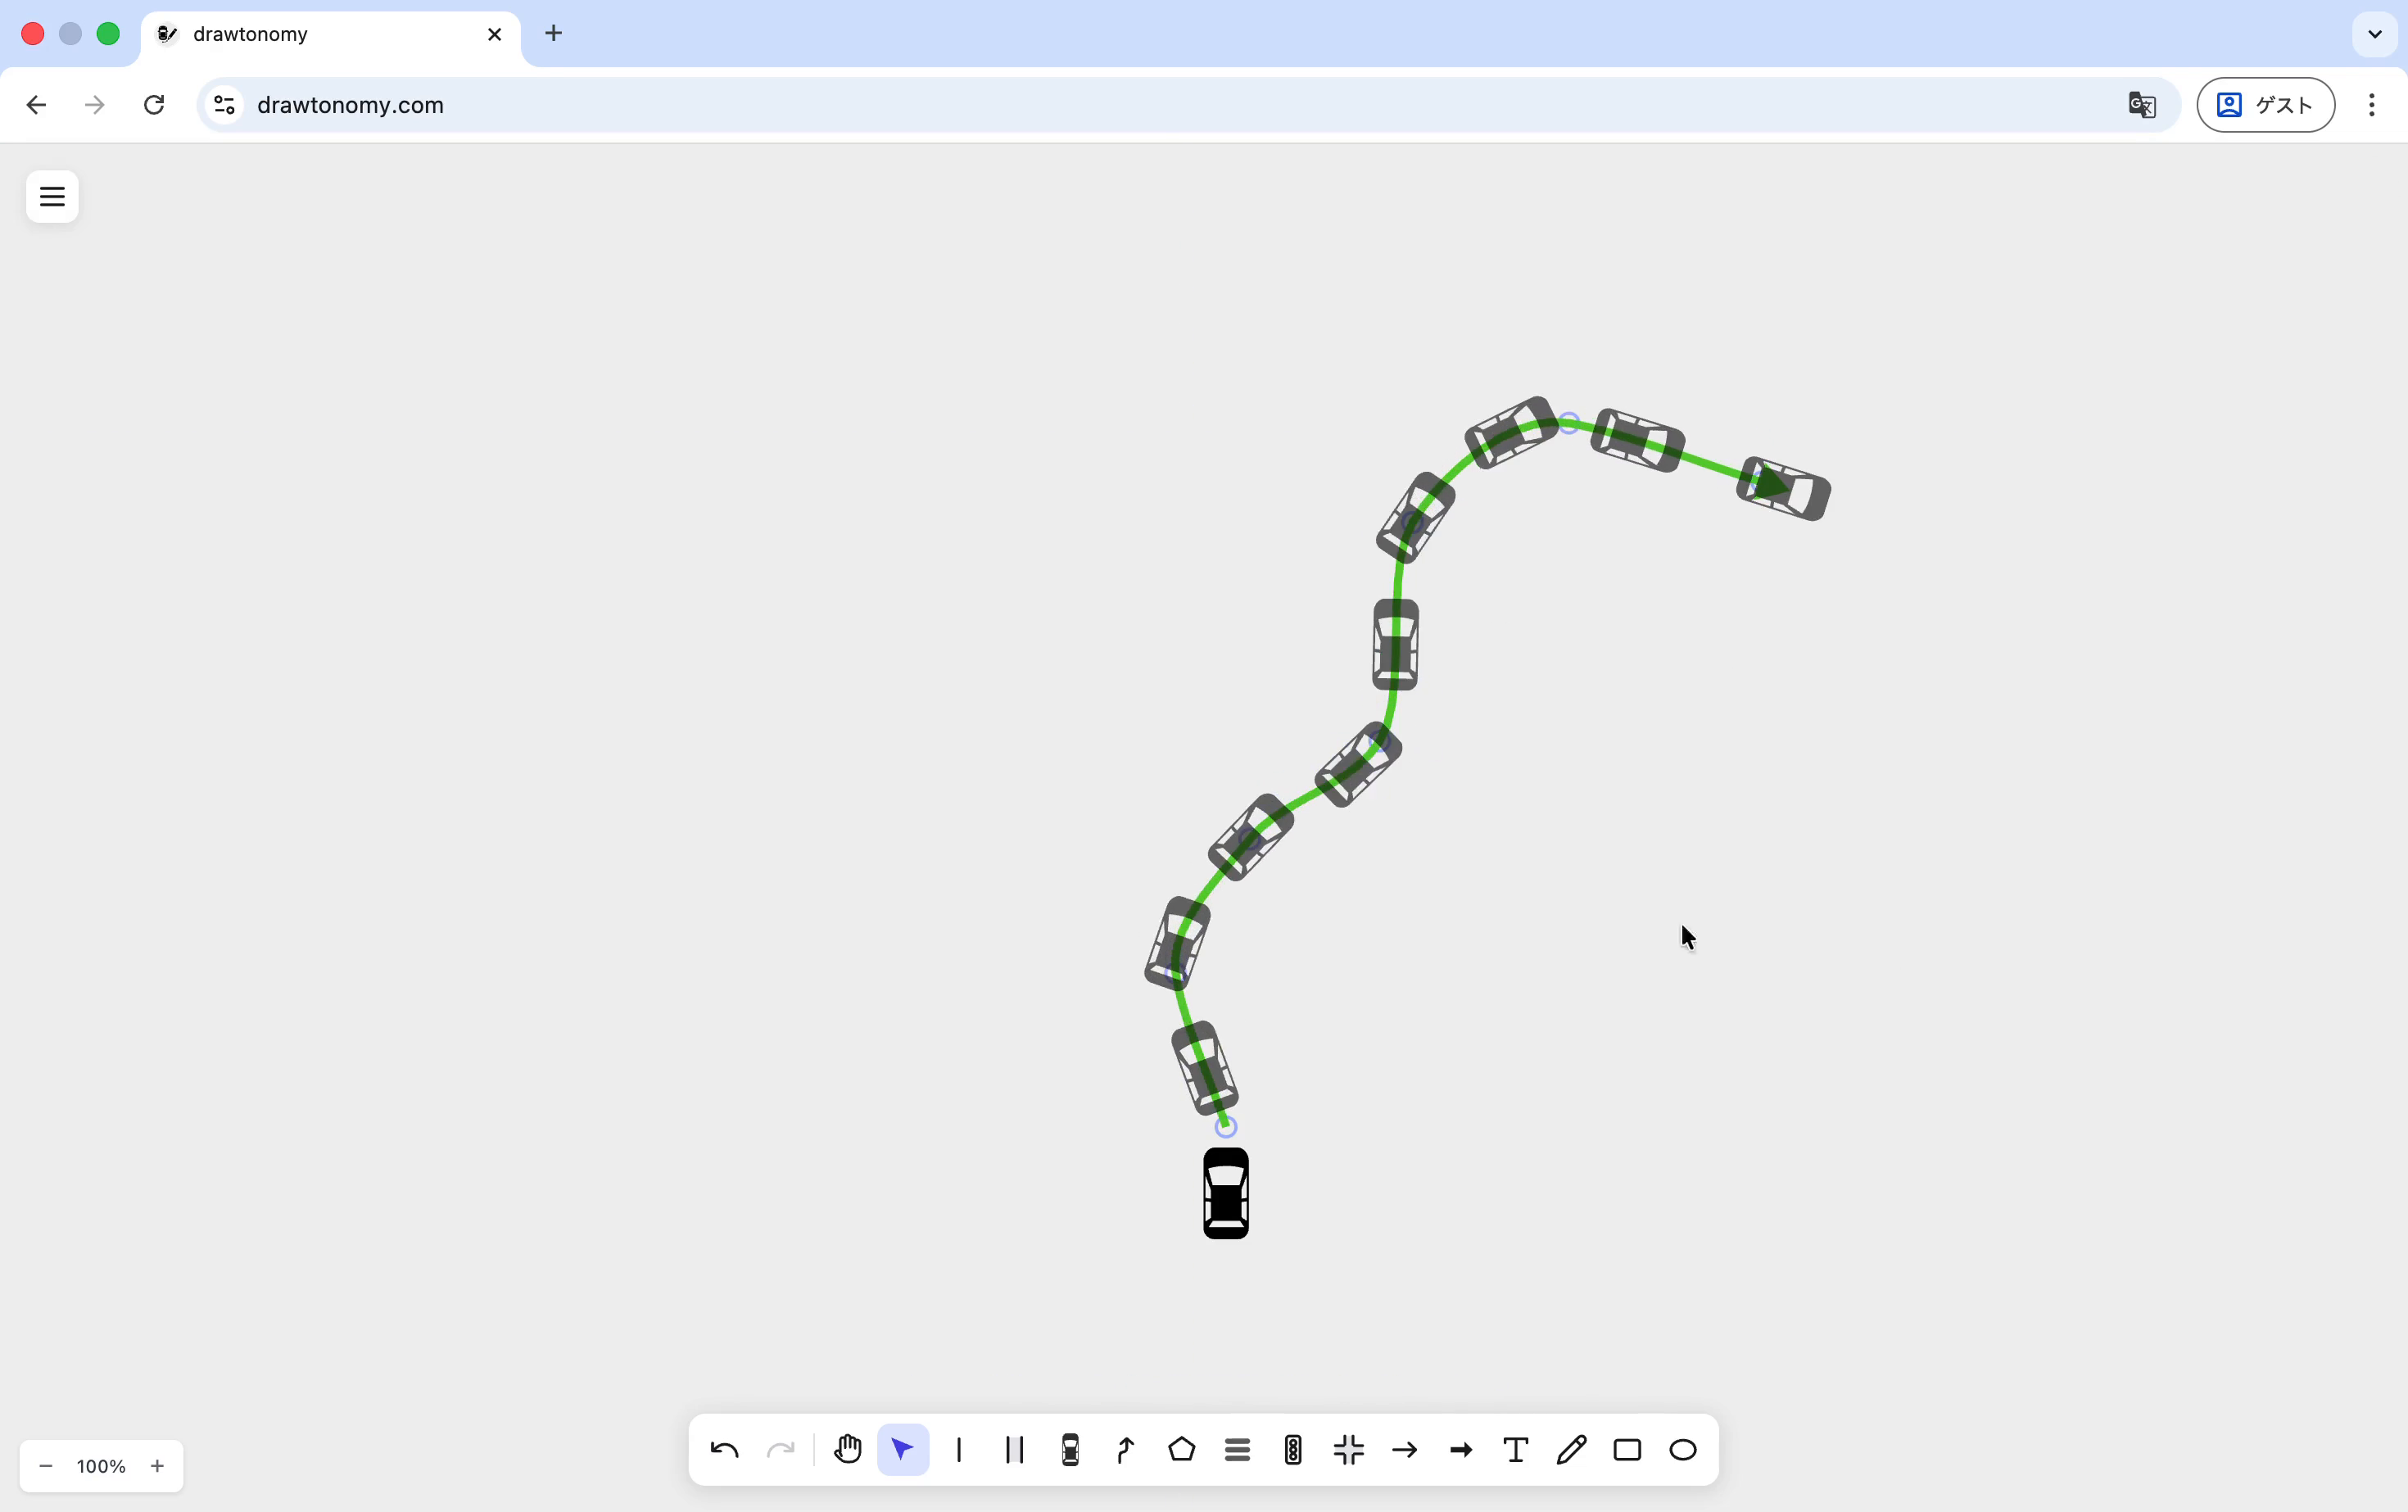
The next demo frame hides the path itself so only the footprints remain — useful for export shots when you don’t want the underlying path to clutter the diagram:
What you can tune
Section titled “What you can tune”- Spacing — distance between footprints.
- Anchor offset — slide the reference point along the travel direction (for example, base link or front bumper instead of centre).
- Smooth — the checkbox in the Path panel makes the path itself curve smoothly between points; footprint orientation follows.
- Color / Opacity / Size — applied to every footprint at once via the source vehicle.