Smooth lane boundaries
This is the second short lesson, after Your first three lanes. One small habit: turn on Smooth Boundary before drawing a curving lane.
The toggle lives in the Lane creation panel and changes how boundaries are generated for the lanes you draw next. Existing lanes are not touched.
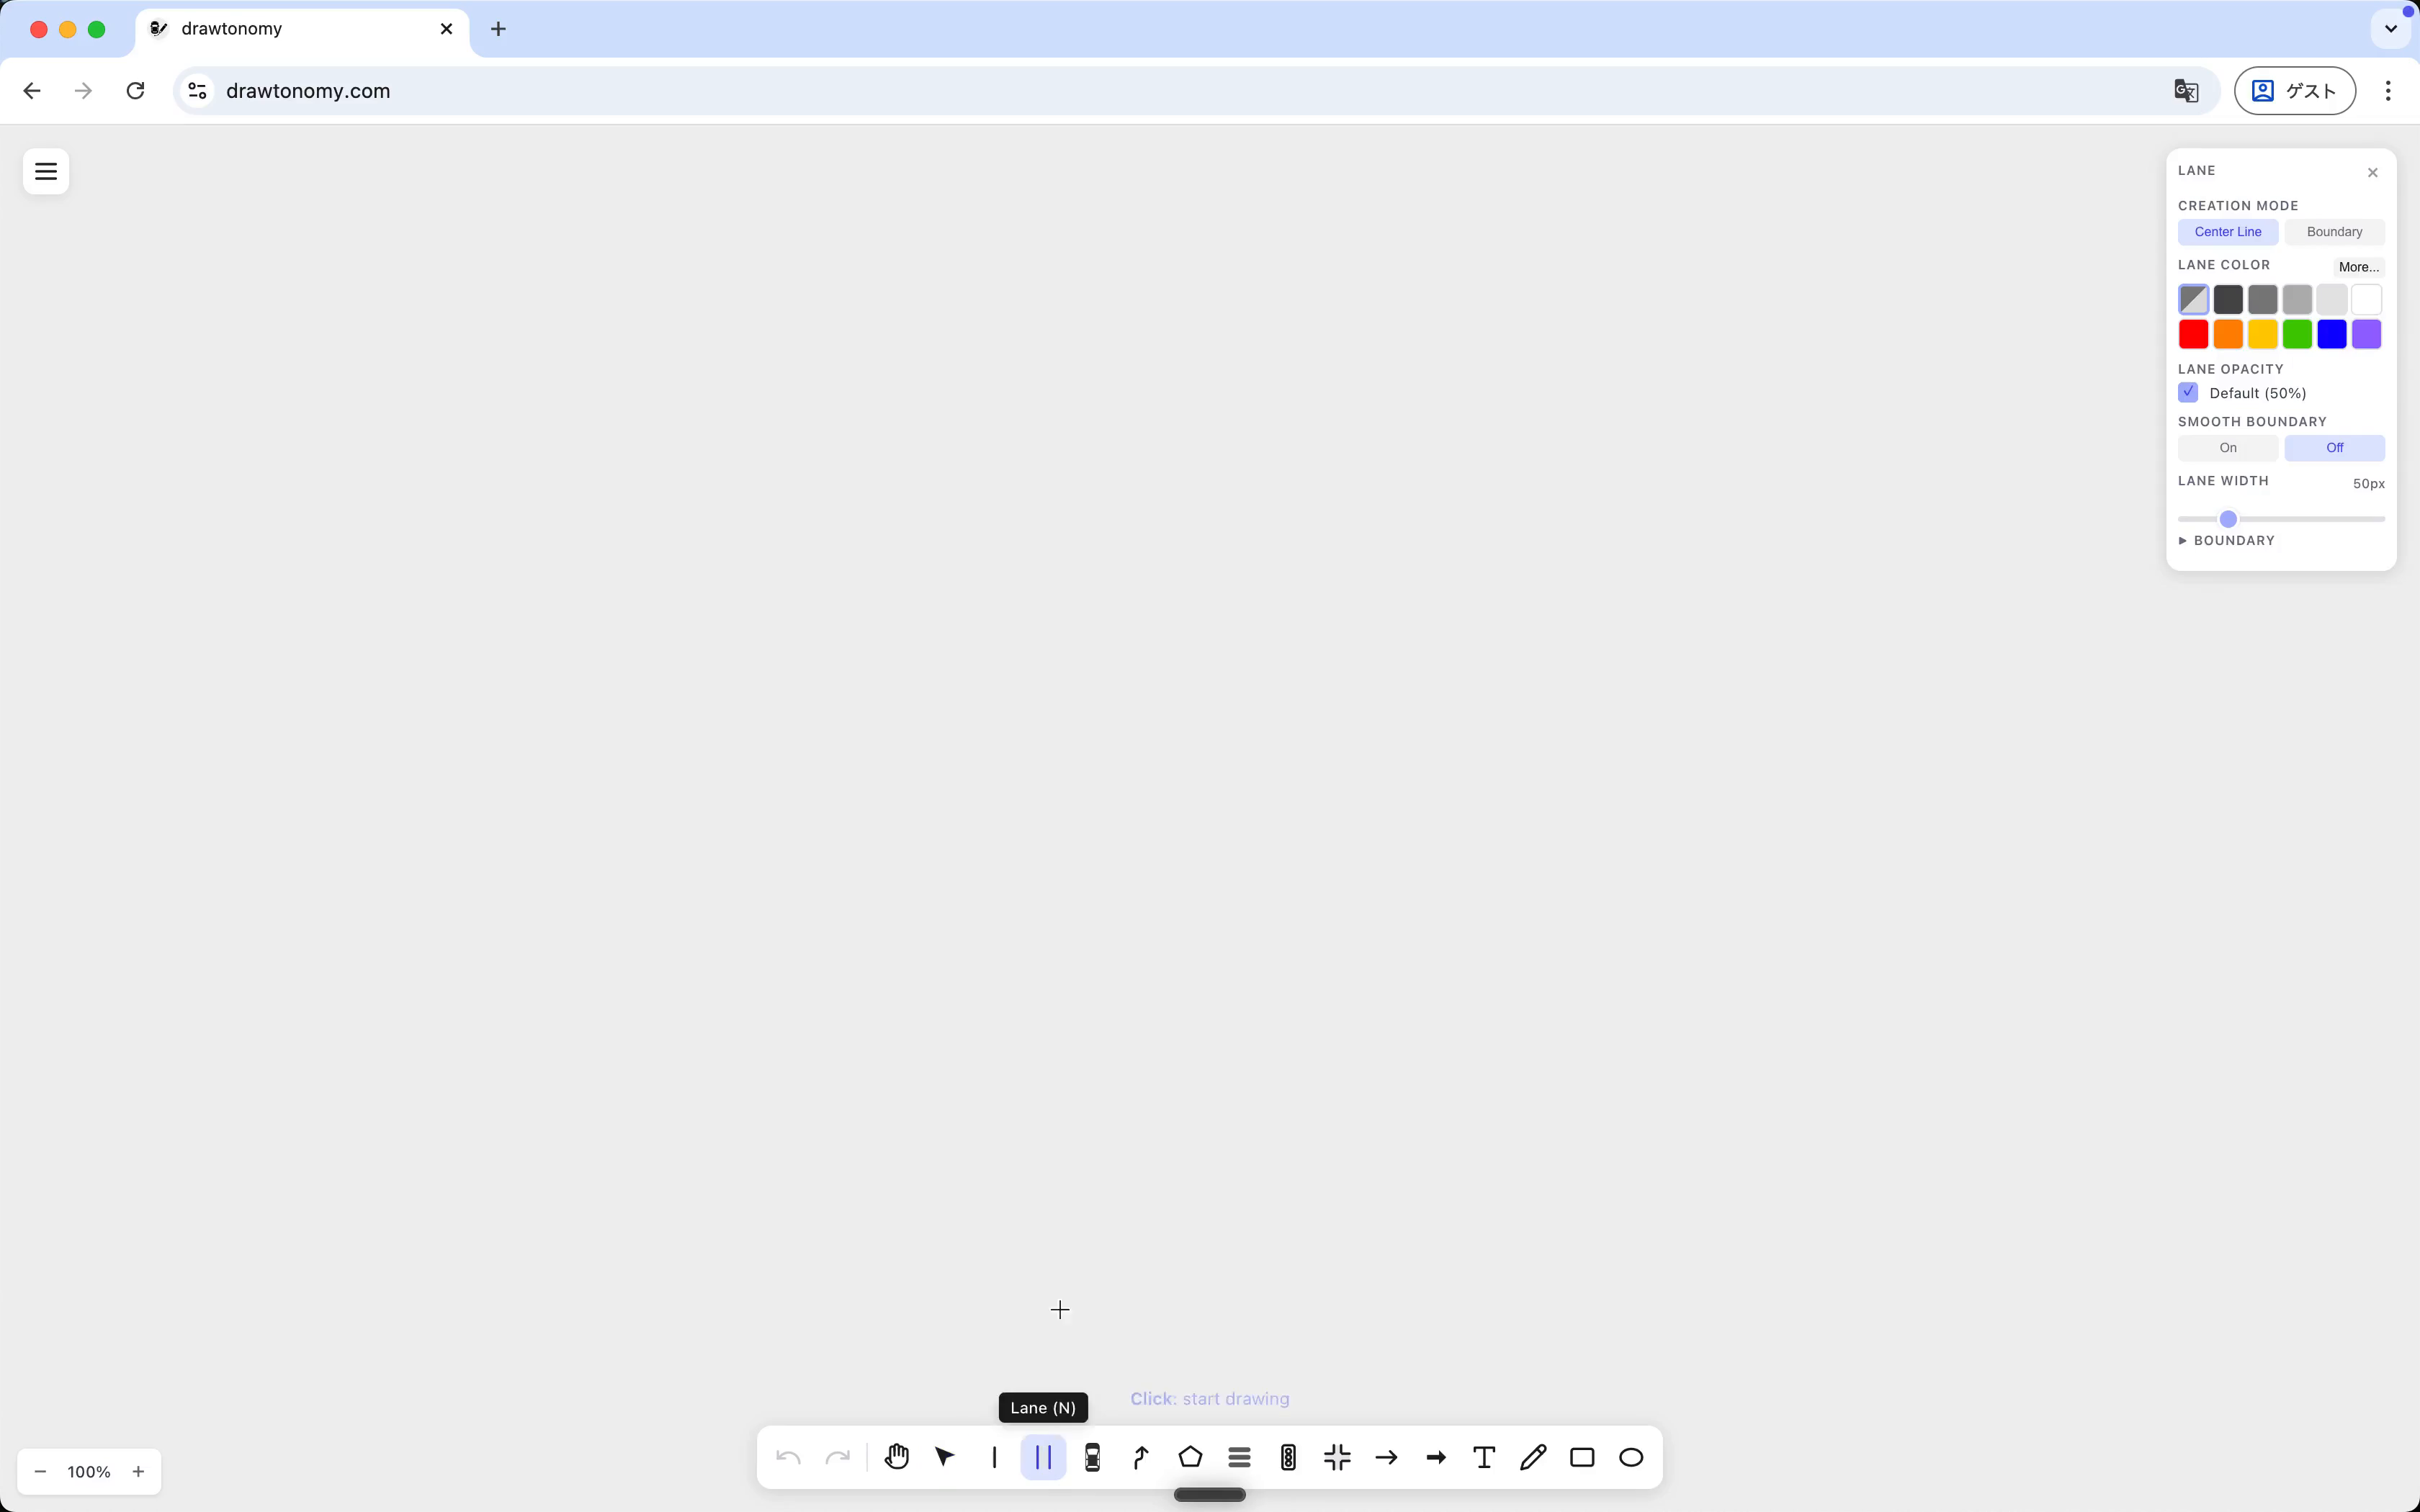
1. Open the Lane panel
Section titled “1. Open the Lane panel”Press N for the Lane tool. The right-side panel opens. Find the SMOOTH BOUNDARY row — the default is Off:
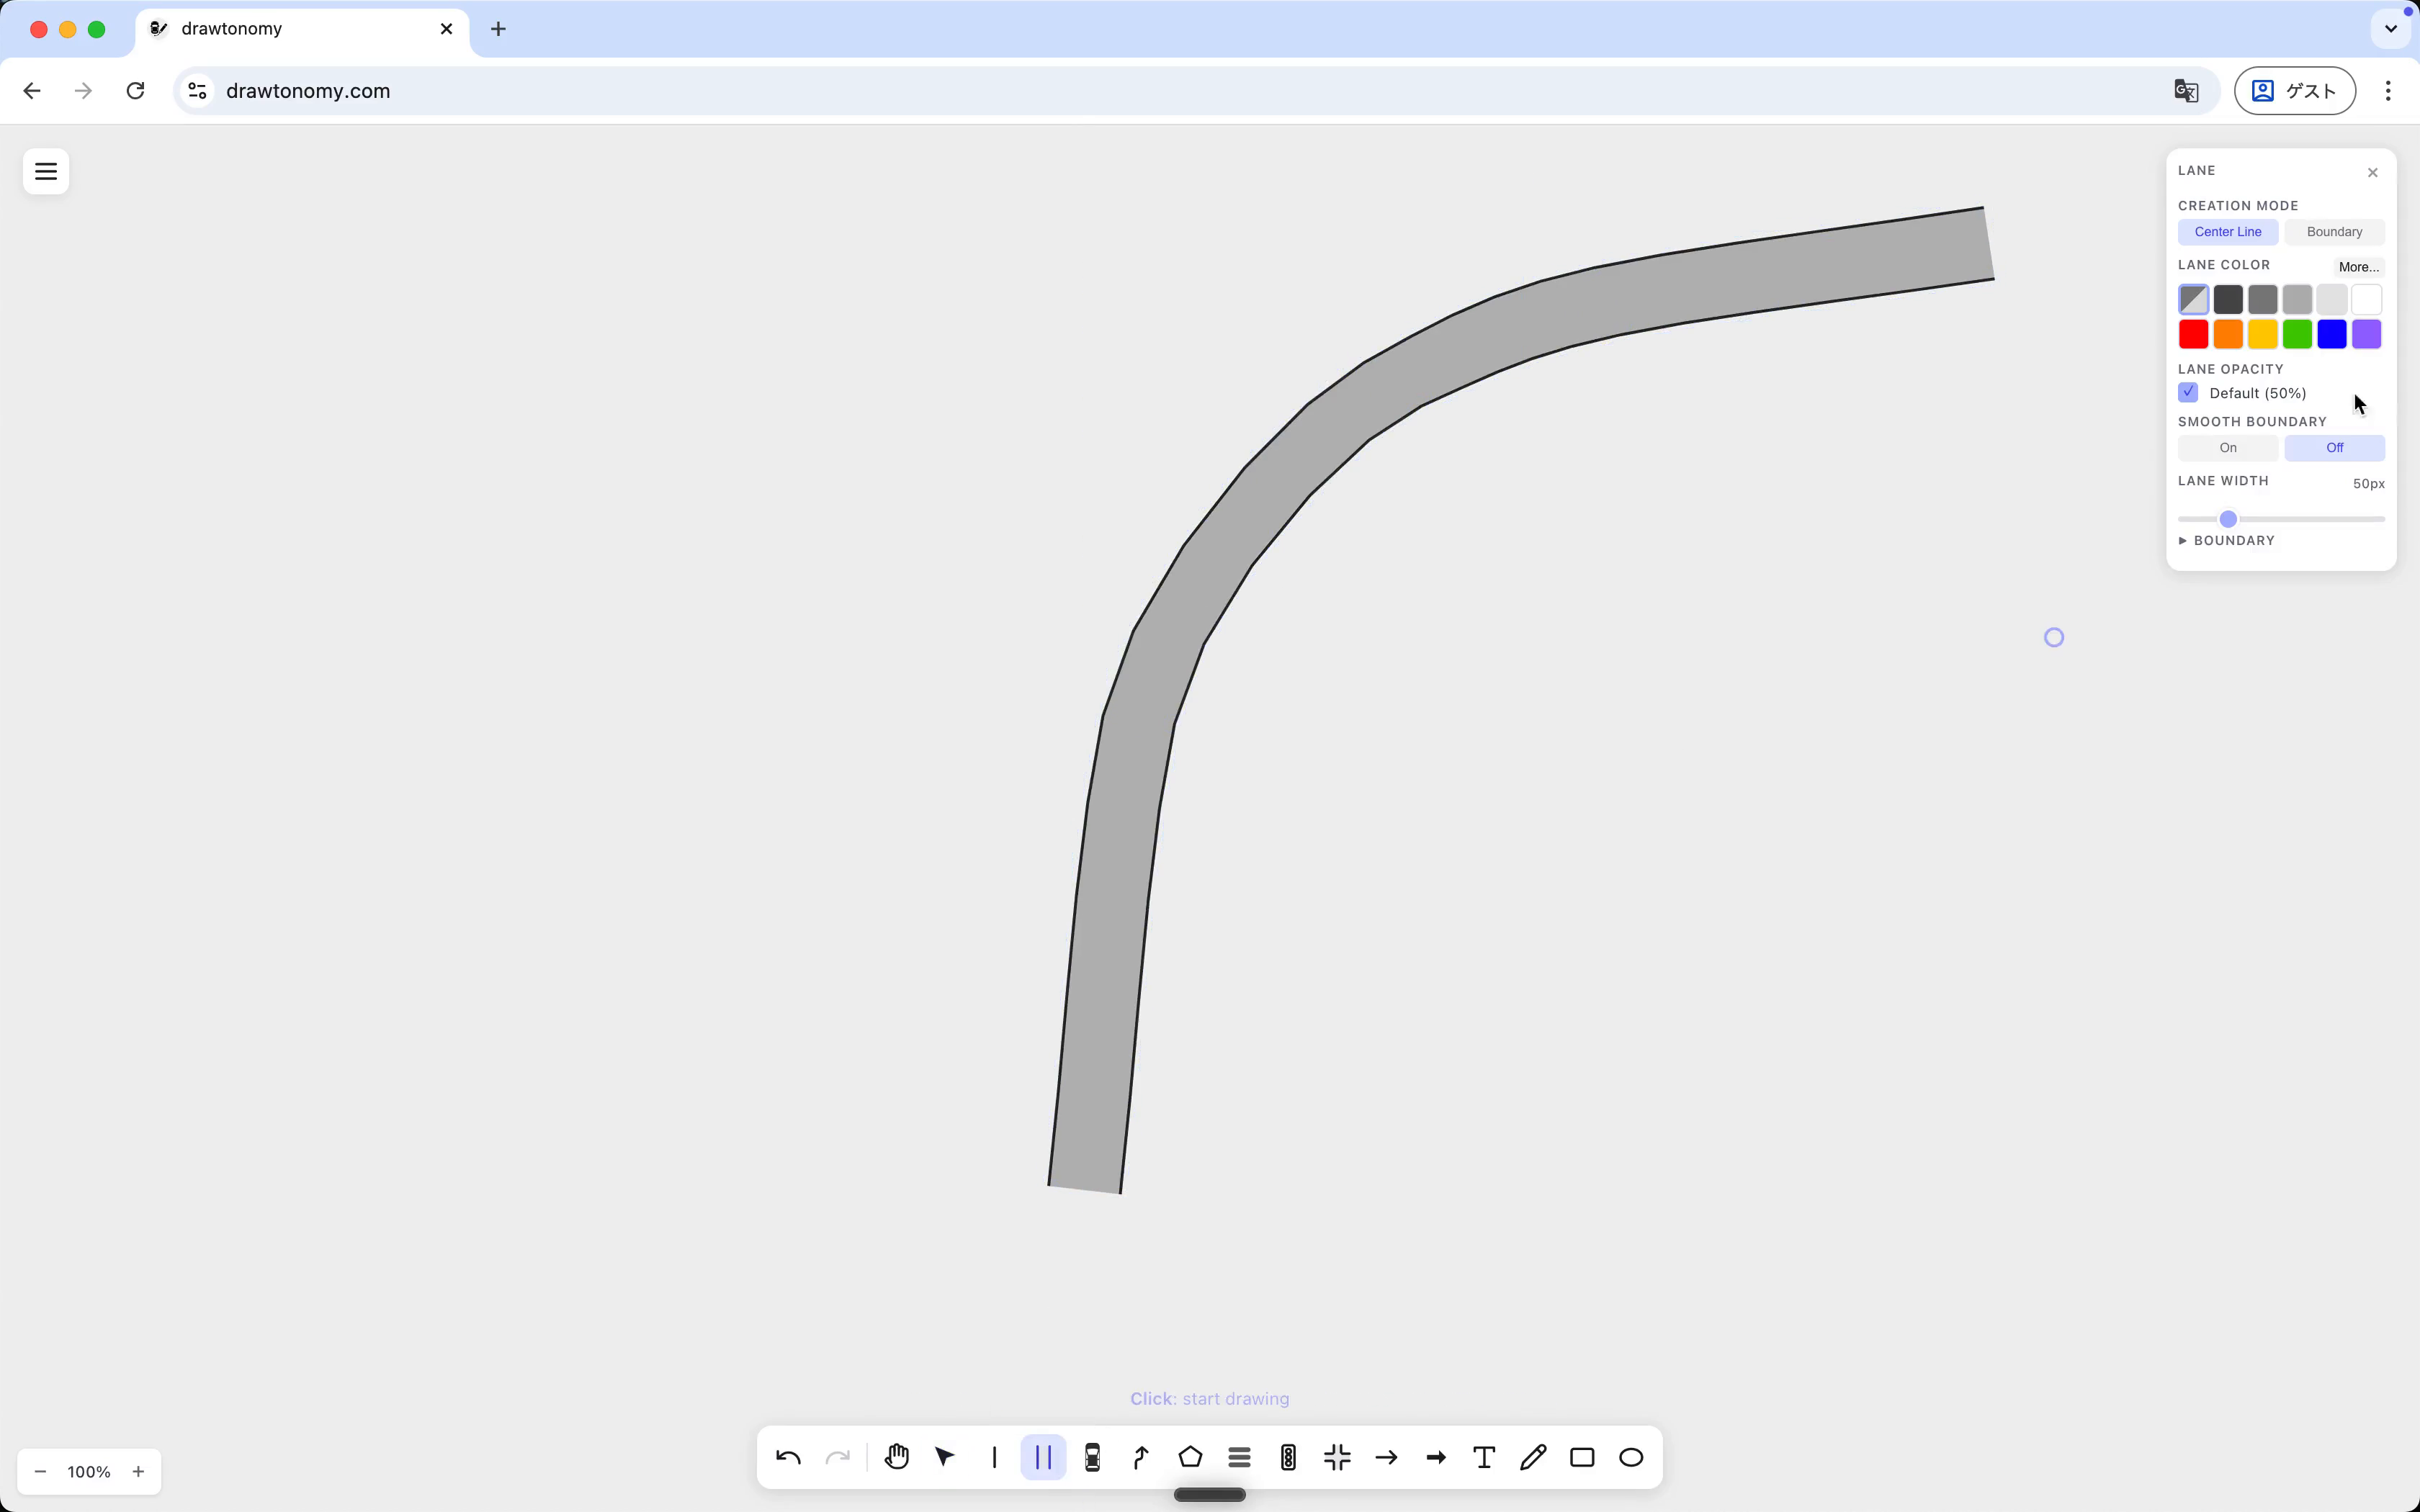
2. Draw a curving lane with the toggle off
Section titled “2. Draw a curving lane with the toggle off”Leave the toggle at Off. Click on the canvas to drop centerline points along a curve, and press Enter to finish.
The boundaries are straight segments between consecutive points, so the lane comes out angular:
3. Switch the toggle on, draw the same lane again
Section titled “3. Switch the toggle on, draw the same lane again”Click On in the SMOOTH BOUNDARY row. Click a similar centerline somewhere else on the canvas and press Enter.
This time the boundaries are spline-fitted, so the lane curves smoothly:
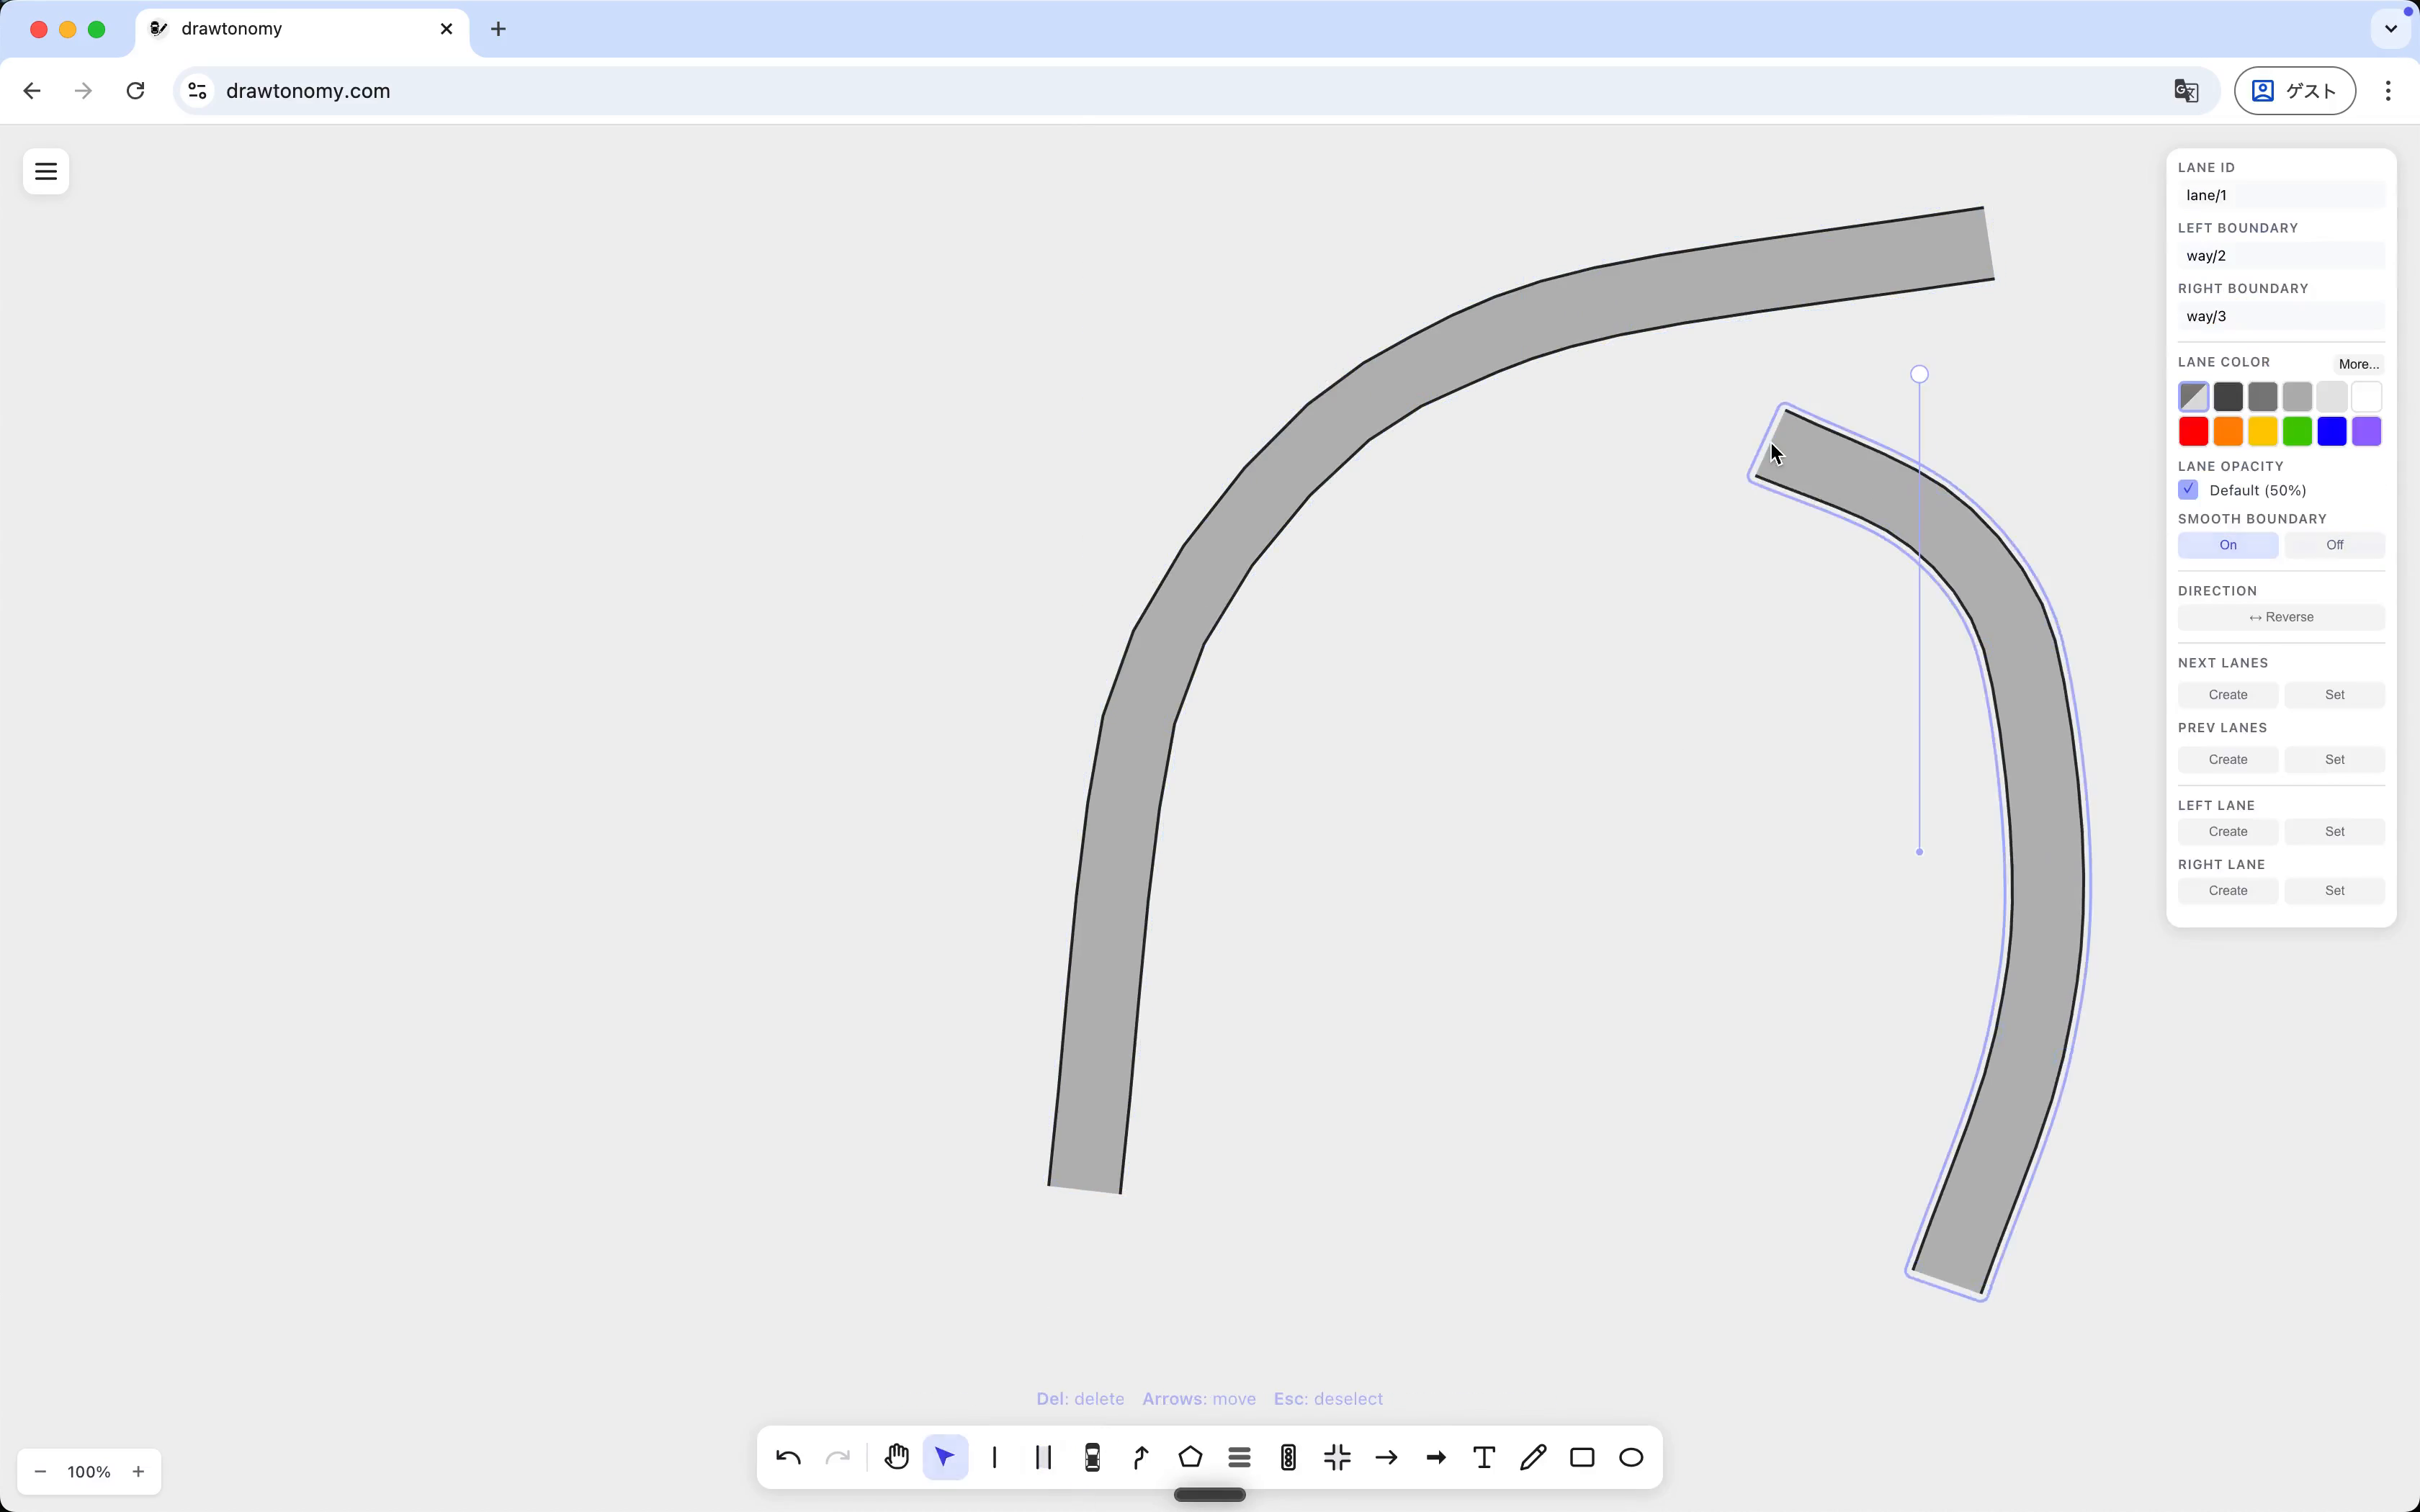
Side by side, the difference is obvious. The centerlines are the same; only the boundary generation rule changed.
When to leave it off, when to turn it on
Section titled “When to leave it off, when to turn it on”| Smooth = Off | Smooth = On | |
|---|---|---|
| Looks | Angular, faceted | Curved |
| Best for | Straight lanes, intersection legs | Curved roads, ramps |
| Performance | Slightly cheaper | Slightly more geometry |
You can flip the toggle as often as you like. Each new lane uses whatever value is set when you finish drawing it.
What you learned
Section titled “What you learned”- The Smooth Boundary toggle lives in the Lane creation panel and applies to the next lane you draw, not the selected lane.
- Centerline geometry is the same in both modes; only the boundary rendering differs.
What’s next
Section titled “What’s next”- Use the Lane tool — the rest of the panel (Center Line vs Boundary mode, Lane Width, Lane Color).
- Manage lane connections — the four connection slots in the Attribute Panel.