Scenario editor — author and run OpenSCENARIO in the browser
Bu içerik henüz dilinizde mevcut değil.
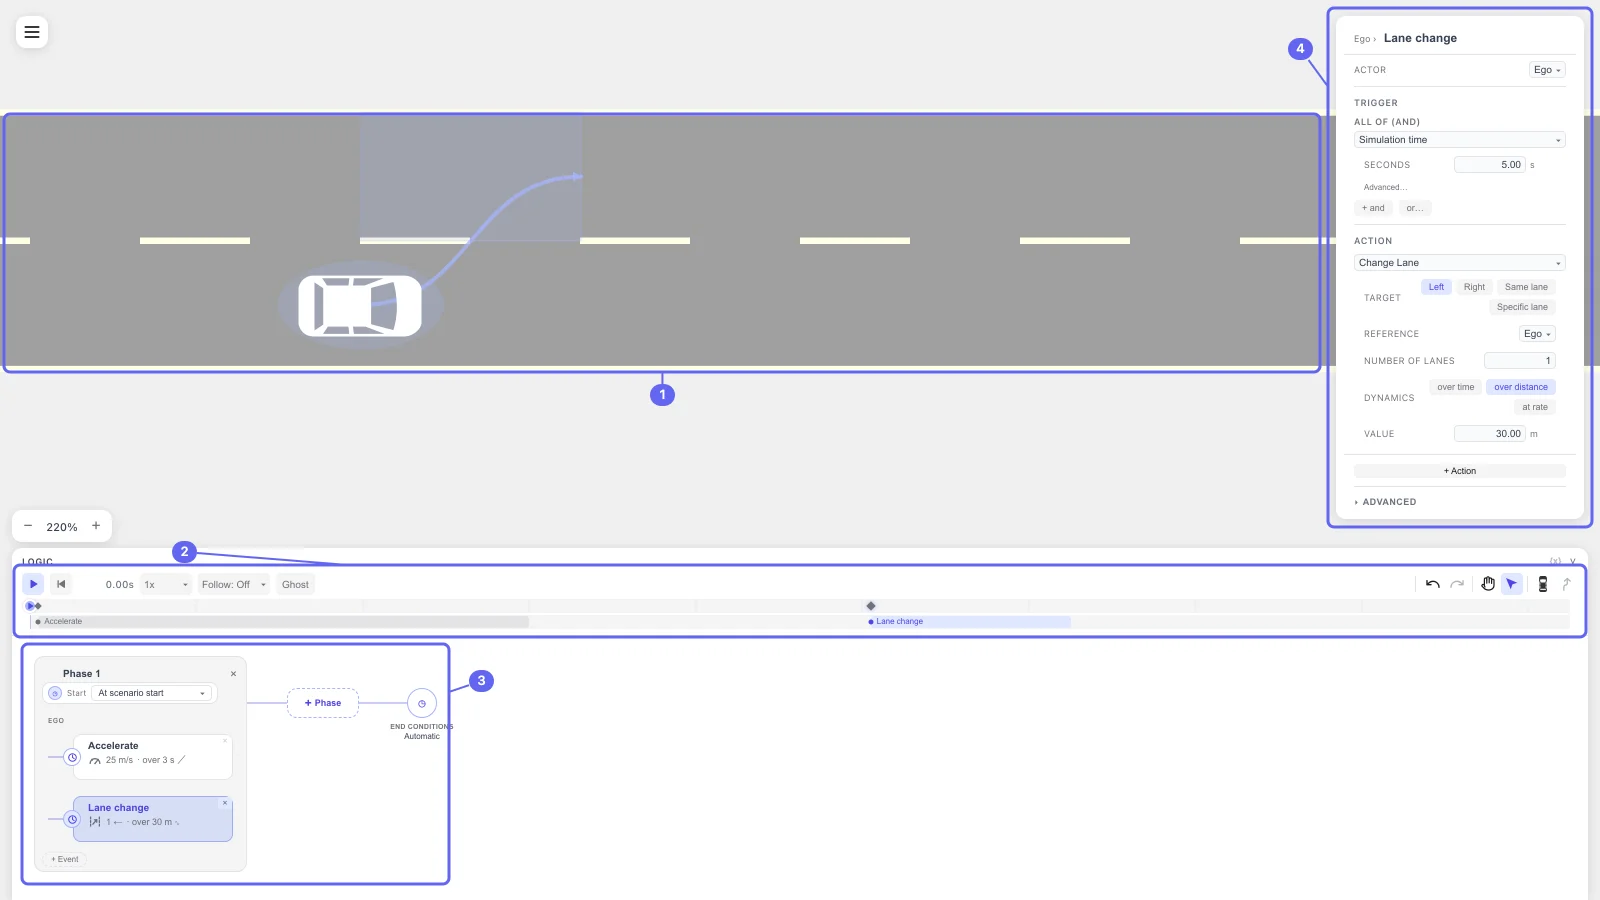
drawtonomy’s scenario editor turns the drawing canvas into an OpenSCENARIO authoring tool. You draw the road, place the actors, describe what they do over time, and press play — the run is executed by esmini compiled to WebAssembly, inside the same browser tab. No install, no account, no build step.
Two modes: Scene and Scenario
Section titled “Two modes: Scene and Scenario”drawtonomy splits the work in two. Switching between them is the single most important thing to know before you start.
| Mode | What you do there | What the toolbar offers |
|---|---|---|
| Scene | Draw roads: lanes, intersections, crosswalks, markings. Place vehicles and pedestrians. | The full drawing toolbar — Lane, Linestring, Intersection, Participants, and the rest. |
| Scenario | Define behaviour: phases, events, actions, triggers, end and fail conditions. Run the scenario. | Only Undo, Redo, Hand, Select, Add actor, and Path. |
Switch modes from the hamburger menu at the top left, under the EDITING heading: Scene or Scenario.
Two things follow from the split:
- You cannot draw roads in Scenario mode. The drawing tools are not shown there. To get back, use the hamburger menu, or the Edit roads button at the top of the actor placement panel.
- Draw the road and place at least one actor first. The + Phase button stays disabled until a scenario has an actor, and a scenario without a road has nothing for the actor to drive on.
The authoring flow
Section titled “The authoring flow”- Scene mode — draw the road. Press N for the
Lane tool and draw one or more lanes. Or
import an OpenDRIVE
.xodrinstead of drawing. - Place actors. You can do this from either mode: in Scene mode press P for the Participants tool, or in Scenario mode click Add actor — then click on a lane. Each actor becomes an OpenSCENARIO entity.
- Switch to Scenario mode. Hamburger → EDITING → Scenario.
- Build the logic. + Phase creates a phase with its first event. Each event has one TRIGGER (when it fires) and one or more ACTIONS (what happens).
- Set the end and fail conditions. The END CONDITIONS node decides when the run stops; FAIL CONDITIONS decide whether the run is a PASS or a FAIL.
- Play. The ▶ button on the left of the LOGIC card runs the scenario and the verdict badge reports the outcome.
- Export. Hamburger → Export → OpenSCENARIO (.xosc)… for the scenario, OpenDRIVE (.xodr) for the road, or Video (.webm)… for a recording.
Your work is saved to the browser automatically as you go and comes back when you reopen the tab, so nothing here is a required “save” step — but Export is what you use to share a scenario or keep it for good.
Vocabulary at a glance
Section titled “Vocabulary at a glance”The editor’s labels map onto OpenSCENARIO elements. The short version:
| drawtonomy UI | OpenSCENARIO 1.x |
|---|---|
| Phase | Act |
| Event | Event |
| TRIGGER | the event’s StartTrigger |
| ACTION | a PrivateAction such as SpeedAction |
| ALL OF (AND) | one ConditionGroup |
| END CONDITIONS | the storyboard’s StopTrigger |
| FAIL CONDITIONS | drawtonomy-specific, stored as a vendor parameter |
The full table, including the RoadRunner Scenario equivalents, is on RoadRunner and OpenSCENARIO terms.
Where to go next
Section titled “Where to go next”- Build your first scenario — a step-by-step lane change, from an empty canvas to a PASS verdict.
- Open and play an existing .xosc —
import a
.xosc+.xodrpair, or open one straight from GitHub. - Phases and events — how the logic graph is structured and in what order things run.
- Actions reference — all 35 actions and the OpenSCENARIO element each one emits.
- Triggers reference — all 19 conditions, plus AND / OR grouping.
- End and fail conditions — when the run stops, and how PASS / FAIL is decided.
- Playback — transport controls, follow camera, ghost trails, verdict badge, video export (full or trimmed).
- AI generation — describe a manoeuvre in words and get one back that has already been run and checked by four gates before it reaches your canvas. Bring your own API key.
- RoadRunner and OpenSCENARIO terms — a translation table if you are coming from RoadRunner Scenario.