
AI scenario generation — describe a scenario, get a verified one
Ta treść nie jest jeszcze dostępna w Twoim języku.
Writing a scenario by hand means naming the road, the lane, the trigger, and the dynamics for every actor. AI generation lets you describe the manoeuvre instead — and the draft is run in a simulator and checked before it reaches your canvas. It runs in your browser with your own API key.
Start here: from a blank canvas
Section titled “Start here: from a blank canvas”The shortest path to a working scenario. Draw one lane, drop two cars, say what should happen:
Vehicle2 cuts in front of Vehicle1.
Five steps, nothing else:
- Draw a lane with the Lane tool, then switch to Scenario mode from the hamburger menu.
- Place two vehicles on the lane with Add actor.
- Open the AI panel (the AI button on the LOGIC card) and type what should happen. Click an actor on the canvas to insert its name.
- Press Generate. What passes the checks is applied to the canvas as ordinary phases and events — press ▶ to watch it.
- Adjust it by hand. The generated events are yours to edit. In the video, the run is replayed with ghost trails on, the timeline is scrubbed back to the moment of the cut-in, and an event is tweaked in the editor before playing it again.
Nothing about the result is special-cased: seek the timeline, change a
speed or a trigger, add a fail
condition, or export the .xosc —
exactly as with a scenario you authored yourself. You can also keep
talking to it instead, see Refining in words.
On a real map
Section titled “On a real map”The same thing on an imported OpenDRIVE network — here a CARLA Town05 map, with a longer request: an overtake that cuts back in and brakes.
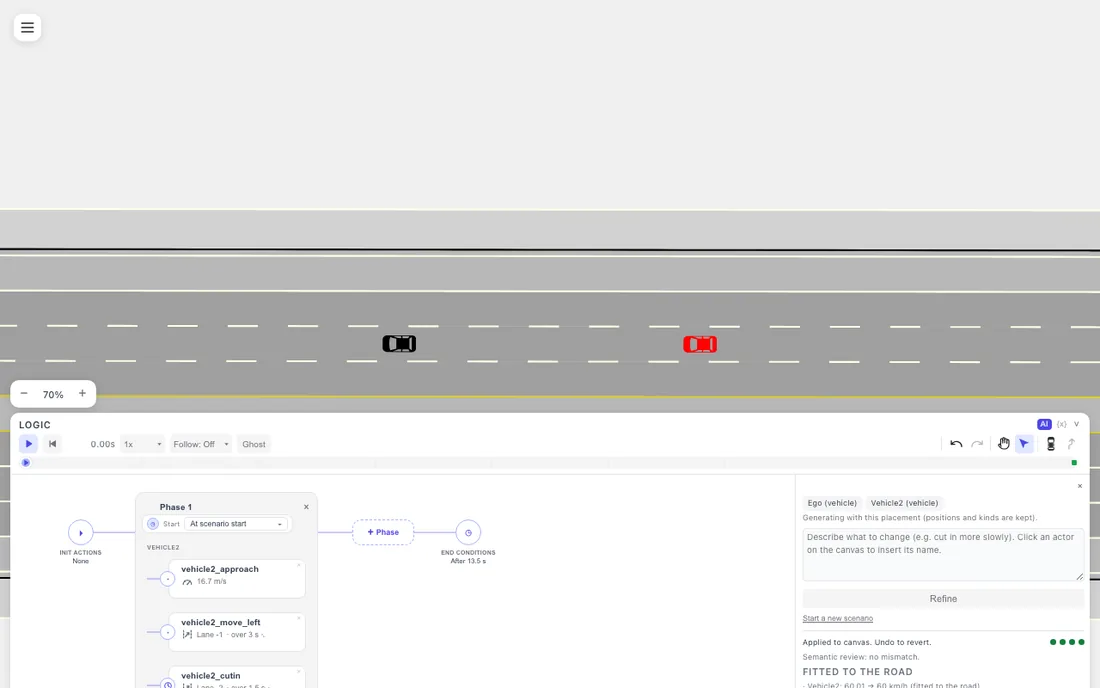
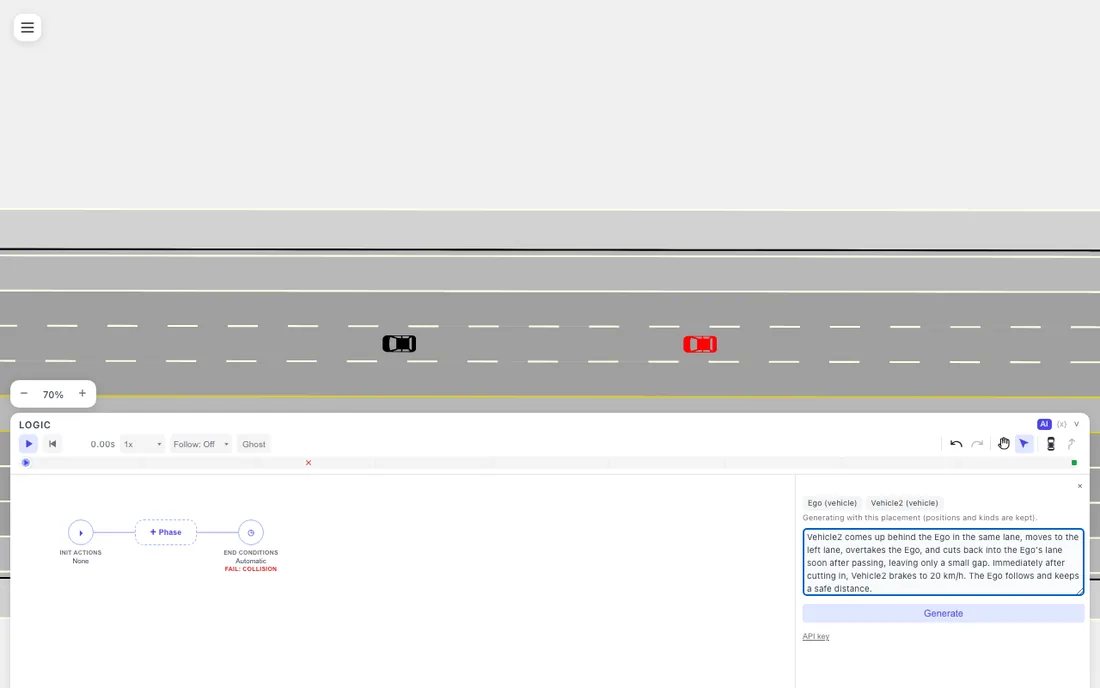
Vehicle2 comes up behind the Ego in the same lane, moves to the left lane, overtakes the Ego, and cuts back into the Ego’s lane soon after passing, leaving only a small gap. Immediately after cutting in, Vehicle2 brakes to 20 km/h. The Ego follows and keeps a safe distance.
The loop
Section titled “The loop”- You place the actors on the canvas and type the request. Where you put a vehicle is treated as a fixed decision — the model is told not to move it.
- The model answers with a storyboard: phases, events, actions and triggers, in drawtonomy’s internal format rather than raw XML.
- Four gates check the answer (below). A gate failure is turned into a list of concrete errors — which field, what is wrong, how to fix it — and sent back for another attempt, up to three.
- A passing draft is applied to the canvas as ordinary phases and events. Nothing is applied that has not been executed, unless you explicitly ask for it.
The four gates
Section titled “The four gates”| Gate | Shown as | What it checks |
|---|---|---|
| 1 | Syntax | The answer parses and matches the storyboard schema — required fields, known action and trigger types. |
| 2 | Logic | Lane IDs exist on the map, travel directions are consistent, triggers can fire, and the manoeuvre fits the road that is actually there. |
| 3 | Run | The scenario is actually executed by esmini — compiled to WebAssembly, in your browser. Events that never fire, actors that get stuck, collisions and off-road departures all fail here. |
| 4 | Meaning | The trajectory is measured against what the request asked for. A cut-in that never crosses the lane line fails, even if the run itself was clean. |
Gate 4 is a geometric check on the recorded trajectory, not a second opinion from a language model. If you asked for a cut-in, something has to actually cut in.
Separately from the gates, a semantic review reads the generated
storyboard against your wording and raises concerns — a step that can
stop the automatic apply and hand the decision to you (Apply with concerns). Concerns are advisory; the gates are the hard barrier.
A gate that catches something fixes it
Section titled “A gate that catches something fixes it”- The exact problem — which field, what is wrong, how to fix it — goes straight back to the model, and it tries again. Most requests are through on the first or second pass.
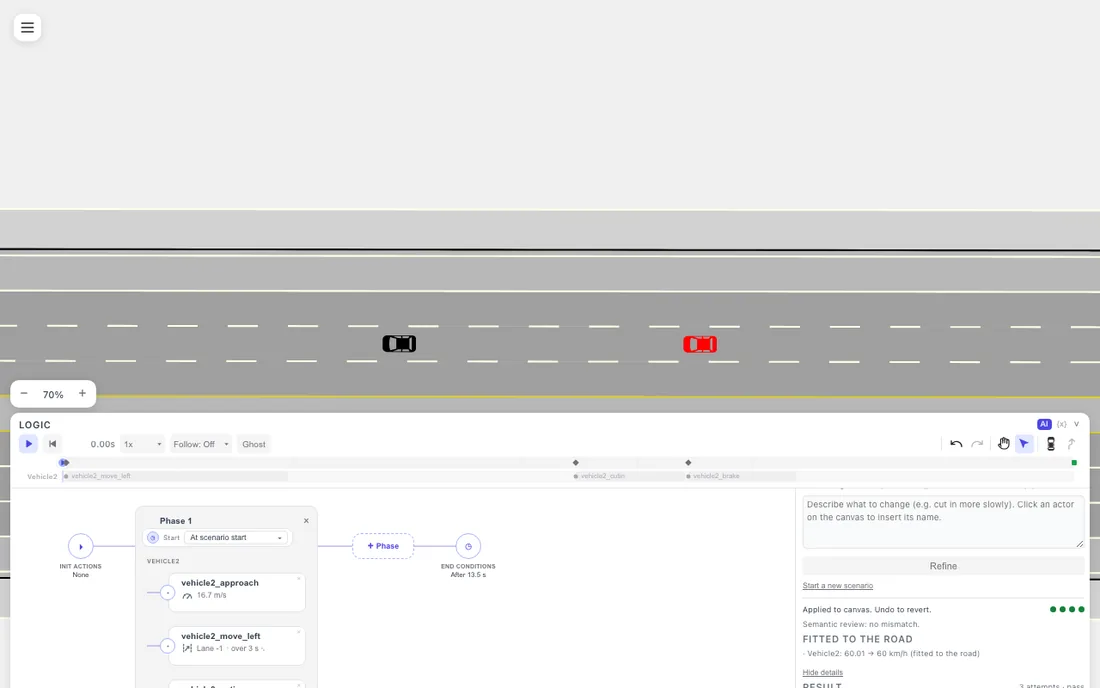
- You can watch it happen: the panel counts the attempts and names the step it is on, from “Asking the AI…” to “Checking it matches your request…”, with the full gate-by-gate story under Details.
- If a request turns out to need a nudge from you, you get Try again, the draft is kept visible in the timeline, and any scenario applied without a clean run is clearly labelled — so a verified scenario and an unverified one are never confused.
What the model is told about your map
Section titled “What the model is told about your map”Generation is grounded in the map you imported, not in guesswork:
- Roads and lanes — road IDs, lane IDs and types, travel direction, which lanes are adjacent, and which lane is to the left or right from a driver’s point of view.
- Placements you made — each vehicle’s road, lane, and position along it, marked as fixed.
- What fits on this road — how much road is left ahead of each actor, and therefore which speeds and which scenario length are feasible. If a speed you asked for does not fit the road, the panel says so under Fitted to the road instead of silently changing it.
Vehicles can be placed on driving lanes and on ramp lanes (entry, exit, on-ramp, off-ramp, connecting ramp); pedestrians on sidewalks, crossings, and shoulders. The same rule decides where you can drop an actor by hand, so what you can draw and what the AI can propose stay in step.
The ego vehicle stays a system under test
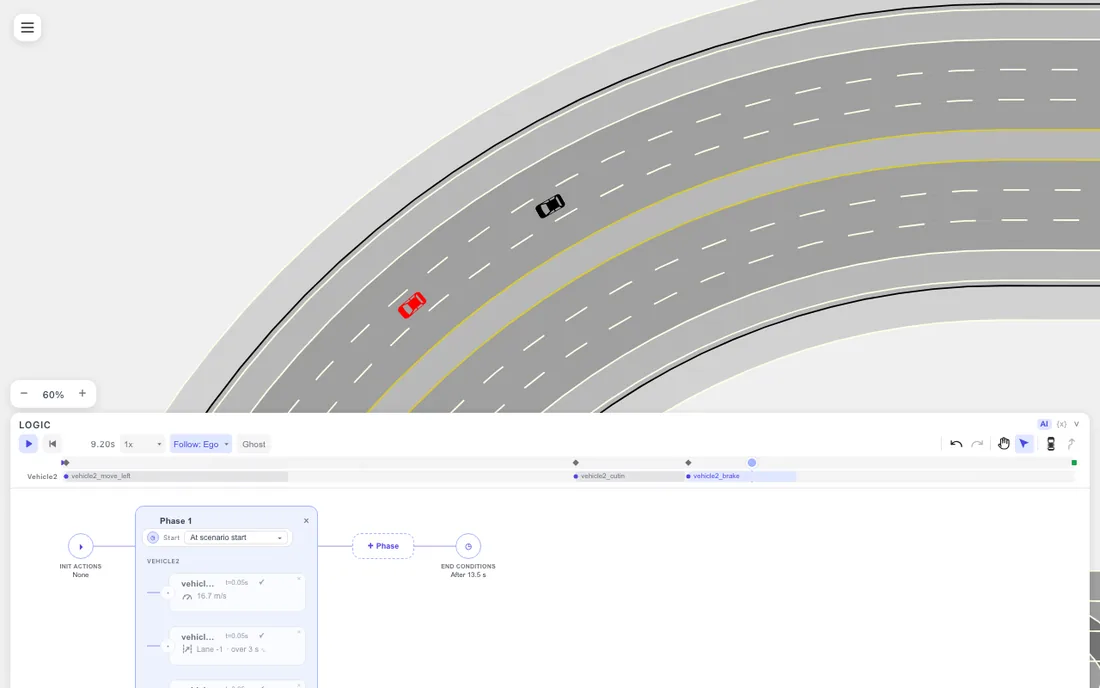
Section titled “The ego vehicle stays a system under test”drawtonomy treats the ego as the thing being tested, not as another actor to script. In the demo above, nothing in the generated storyboard tells the ego to slow down — the request only says “The Ego follows and keeps a safe distance.” The braking you see is the reference cruise controller reacting to the red car’s cut-in and deceleration:
| Speed | |
|---|---|
| Red car (scripted) | 60 km/h → 20 km/h, starting 0.7 s after it settles in the lane |
| Ego (not scripted) | 40 km/h → 21 km/h, following at 10 m |
That is the shape of a useful test: the stimulus is written down, and the response is what you are measuring. See end and fail conditions for how to turn that response into a pass or fail.
Refining in words
Section titled “Refining in words”After a scenario is applied, the same box becomes a refine box: describe the change rather than re-generating from scratch. Refinements are applied as targeted edits — a speed, a trigger threshold, an added or removed event, the scenario end time — so the parts you hand-edited stay as they are.
Plain numeric orders are handled without calling the model at all. “Set Vehicle2 to 40 km/h” names one actor, one number and one unit, so drawtonomy resolves it directly and the panel notes that no AI call was needed. Anything ambiguous goes to the model.
What it covers today
Section titled “What it covers today”What the generator can express today — and how it behaves when a request pushes past it.
- A full manoeuvre vocabulary — speed changes, lane changes, lateral offsets, teleports, distance keeping and trajectory following, triggered by simulation time, relative distance, time headway, speed, or the state of another event. Whatever you generate lands as ordinary phases and events, so anything outside that vocabulary is a normal hand edit away.
- Attempts you never see — a request may be solved on the first try or take up to three, each one corrected by the gates. What reaches your canvas is the attempt that passed.
- A run length that fits the road — the scenario length is solved from the manoeuvre, the speeds, and the road ahead, so the run always finishes on the tarmac you have. Want longer? Ask for it in the refine box and it is applied as a targeted edit.
- Room to manoeuvre — an overtake wants road. Give the actors a stretch of about 30 m or more and the solver has something to work with.
Set up your API key
Section titled “Set up your API key”Generation uses your own API key, so the requests run on your account and your quota. The key is stored in your browser and sent straight to the provider you picked — it never reaches a drawtonomy server, a file, or a log.
Open the AI panel in the scenario editor and click API key at the bottom:
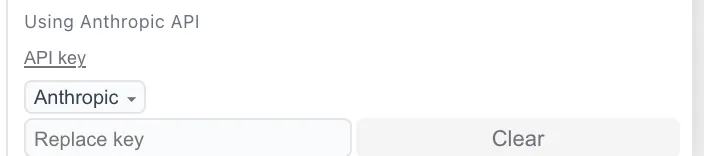
- Pick a provider — Anthropic (default), OpenAI (ChatGPT), or Gemini.
- Paste the key and press Save. The field then shows
Replace key, and a Clear button appears to remove it again. - Keys are remembered per provider, so switching providers does not discard the other key.
Getting a Claude API key
Section titled “Getting a Claude API key”Create one in the Anthropic Console (Settings → API keys → Create Key). An Anthropic account with API credit is required; the Claude subscription plans are separate from API access.
If something is rejected
Section titled “If something is rejected”The panel names the cause instead of failing silently:
| What you see | What to do |
|---|---|
| The key was rejected | Check the key is valid and has API access — and that it is scoped to one workspace (above). |
| The API is rate limiting this key | Wait a moment and press Try again. |
| The API is temporarily unavailable | A provider-side outage; retry shortly. |
Related pages
Section titled “Related pages”- Build your first scenario — the same storyboard, authored by hand.
- Phases and events — what the generated structure means once it is on the canvas.
- Playback — running the result, follow camera, and the PASS/FAIL badge.
- Generate a scene with AI — the separate extension that turns a description into a drawing rather than a scenario.